
Easter Candy Jars... DIY and repurpose old jars Candy jars, Easter
Personalized Buggy Love Glass Easter Candy Jar - For Easter Treats - Snack Jar - For Kids - Available With or Without Jelly Beans (10k) $ 29.99. FREE shipping Add to Favorites Fun "Candy & Treats" Wood Contemporary Decor Candy Bar Box w/ Mason Jars for Snacks - Decor - Great for Party Snacks (1.8k) Sale Price $27..
DIY Easter Bunny Candy Jars An Adorable and Easy Craft for Spring
DIY Easter Jar Instructions. Fill the spice jars with a little green crinkle at the bottom and top with candy. White for the bunny, any color you'd like for the chicks (I used yellow and blue but pink or green would be adorable as well!). Print the PDF and cut out the template pieces and use them to trace out the shapes on the card stock.

Easter candy jars,Set of 2 Easter Candy Jars,Easter Mason Jars,Mason
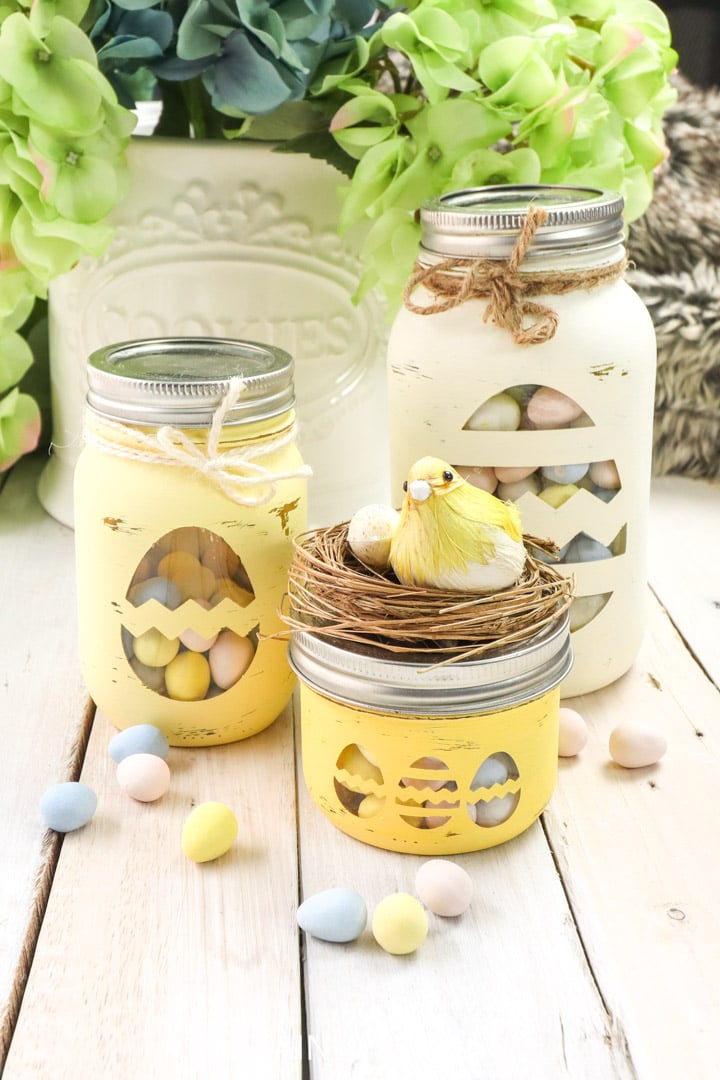
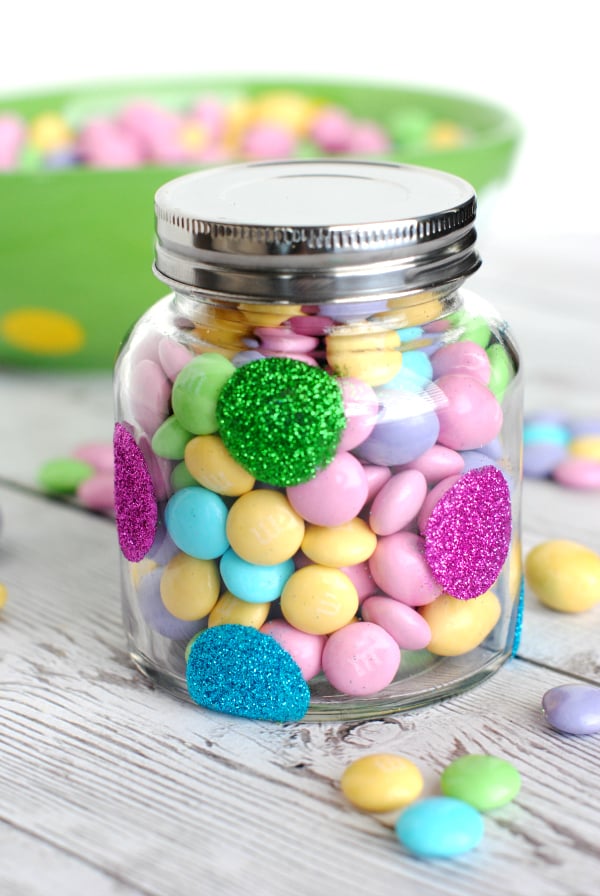
Fill the Jars: Take your chosen mason jars and fill them with the mini eggs or other pastel Easter candy. You can opt for a single color or mix and match for a vibrant display of Easter hues. Apply the Labels: Once the jars are filled, it's time to add the labels. Place the thin, flat part of the lid on top of the jar.
Pretty DIY Easter Candy Jars Sustain My Craft Habit
Easter Candy Jars. posted by Two Sisters Crafting on March 12, 2014 (updated 2/6/17) // 0 Comments. Here are my DIY Candy Jars, filled with candy and ready for Easter 2014. I made these candy jars myself using generic jars and candlesticks and they are one of my favorite DIY craft projects. I have them filled with holiday themed candy all year.

eastercandyjars7 Down Redbud Drive
Bunny Ears Glass Jar & Ceramic Lid 580ml - 4 Pastel Colours - Easter Bunny Rabbit Chocolate Candy Sweets Spring Glass Gift Mini Eggs Storage. (2.5k) $9.99. Easter Bunny candy bag SVG. Shaped as a Mason Jar. Use it as a party favor for kids parties, baby showers, Easter and more. Click to learn!
Cute Easter Craft Easy Easter Candy Jars Crazy Little Projects
Step 3: Glue on a felt circle. You will need to seal up the bottom of the head so the stuffing doesn't come loose. Using felt will also ensure it glues well to the lid of the Easter Candy Jar. Use the lid of your jar and a marker and trace around the lid on the felt. Cut along the inside of the line you made, so it's just smaller than the.
Candy Jars,Set of 2 Mason Candy Jars,Easter Candy Jars,Easter Decor
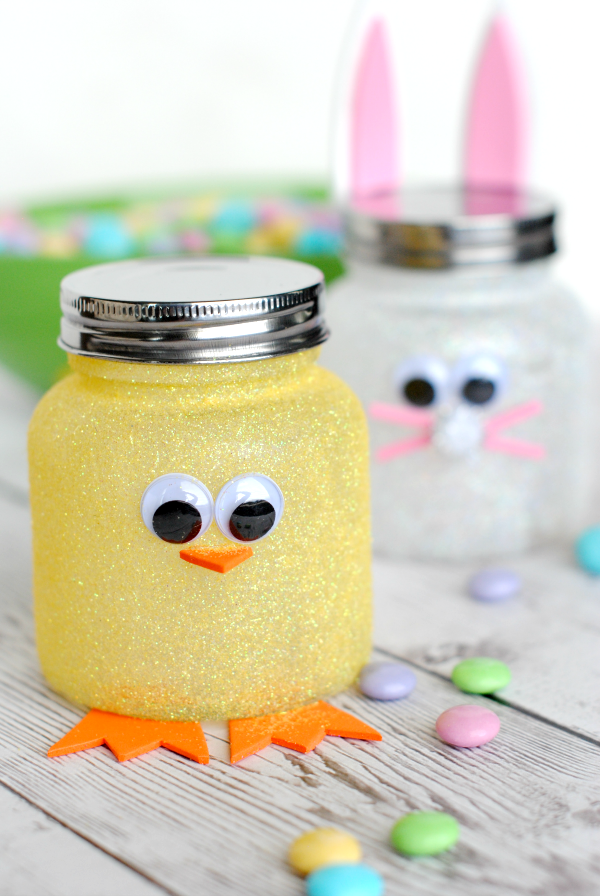
Here's what you need to make Candy Jars in 5 Minutes: Small Glass Jars with Metal Lids - Dollar Tree. Ceramic Easter Painting Sets; Bunny and Chick - Dollar Tree. Americana Multi-Surface Craft Paint by DecoArt - Chick Yellow and Sky Blue. Glue Gun and Glue Sticks. Paintbrush. Ribbon - 3/8" wide Satin Pastel Rainbow. Needle-Nose Pliers.
Easter mason candy jars, best DIY Easter basket ideas, Best Easter crafts
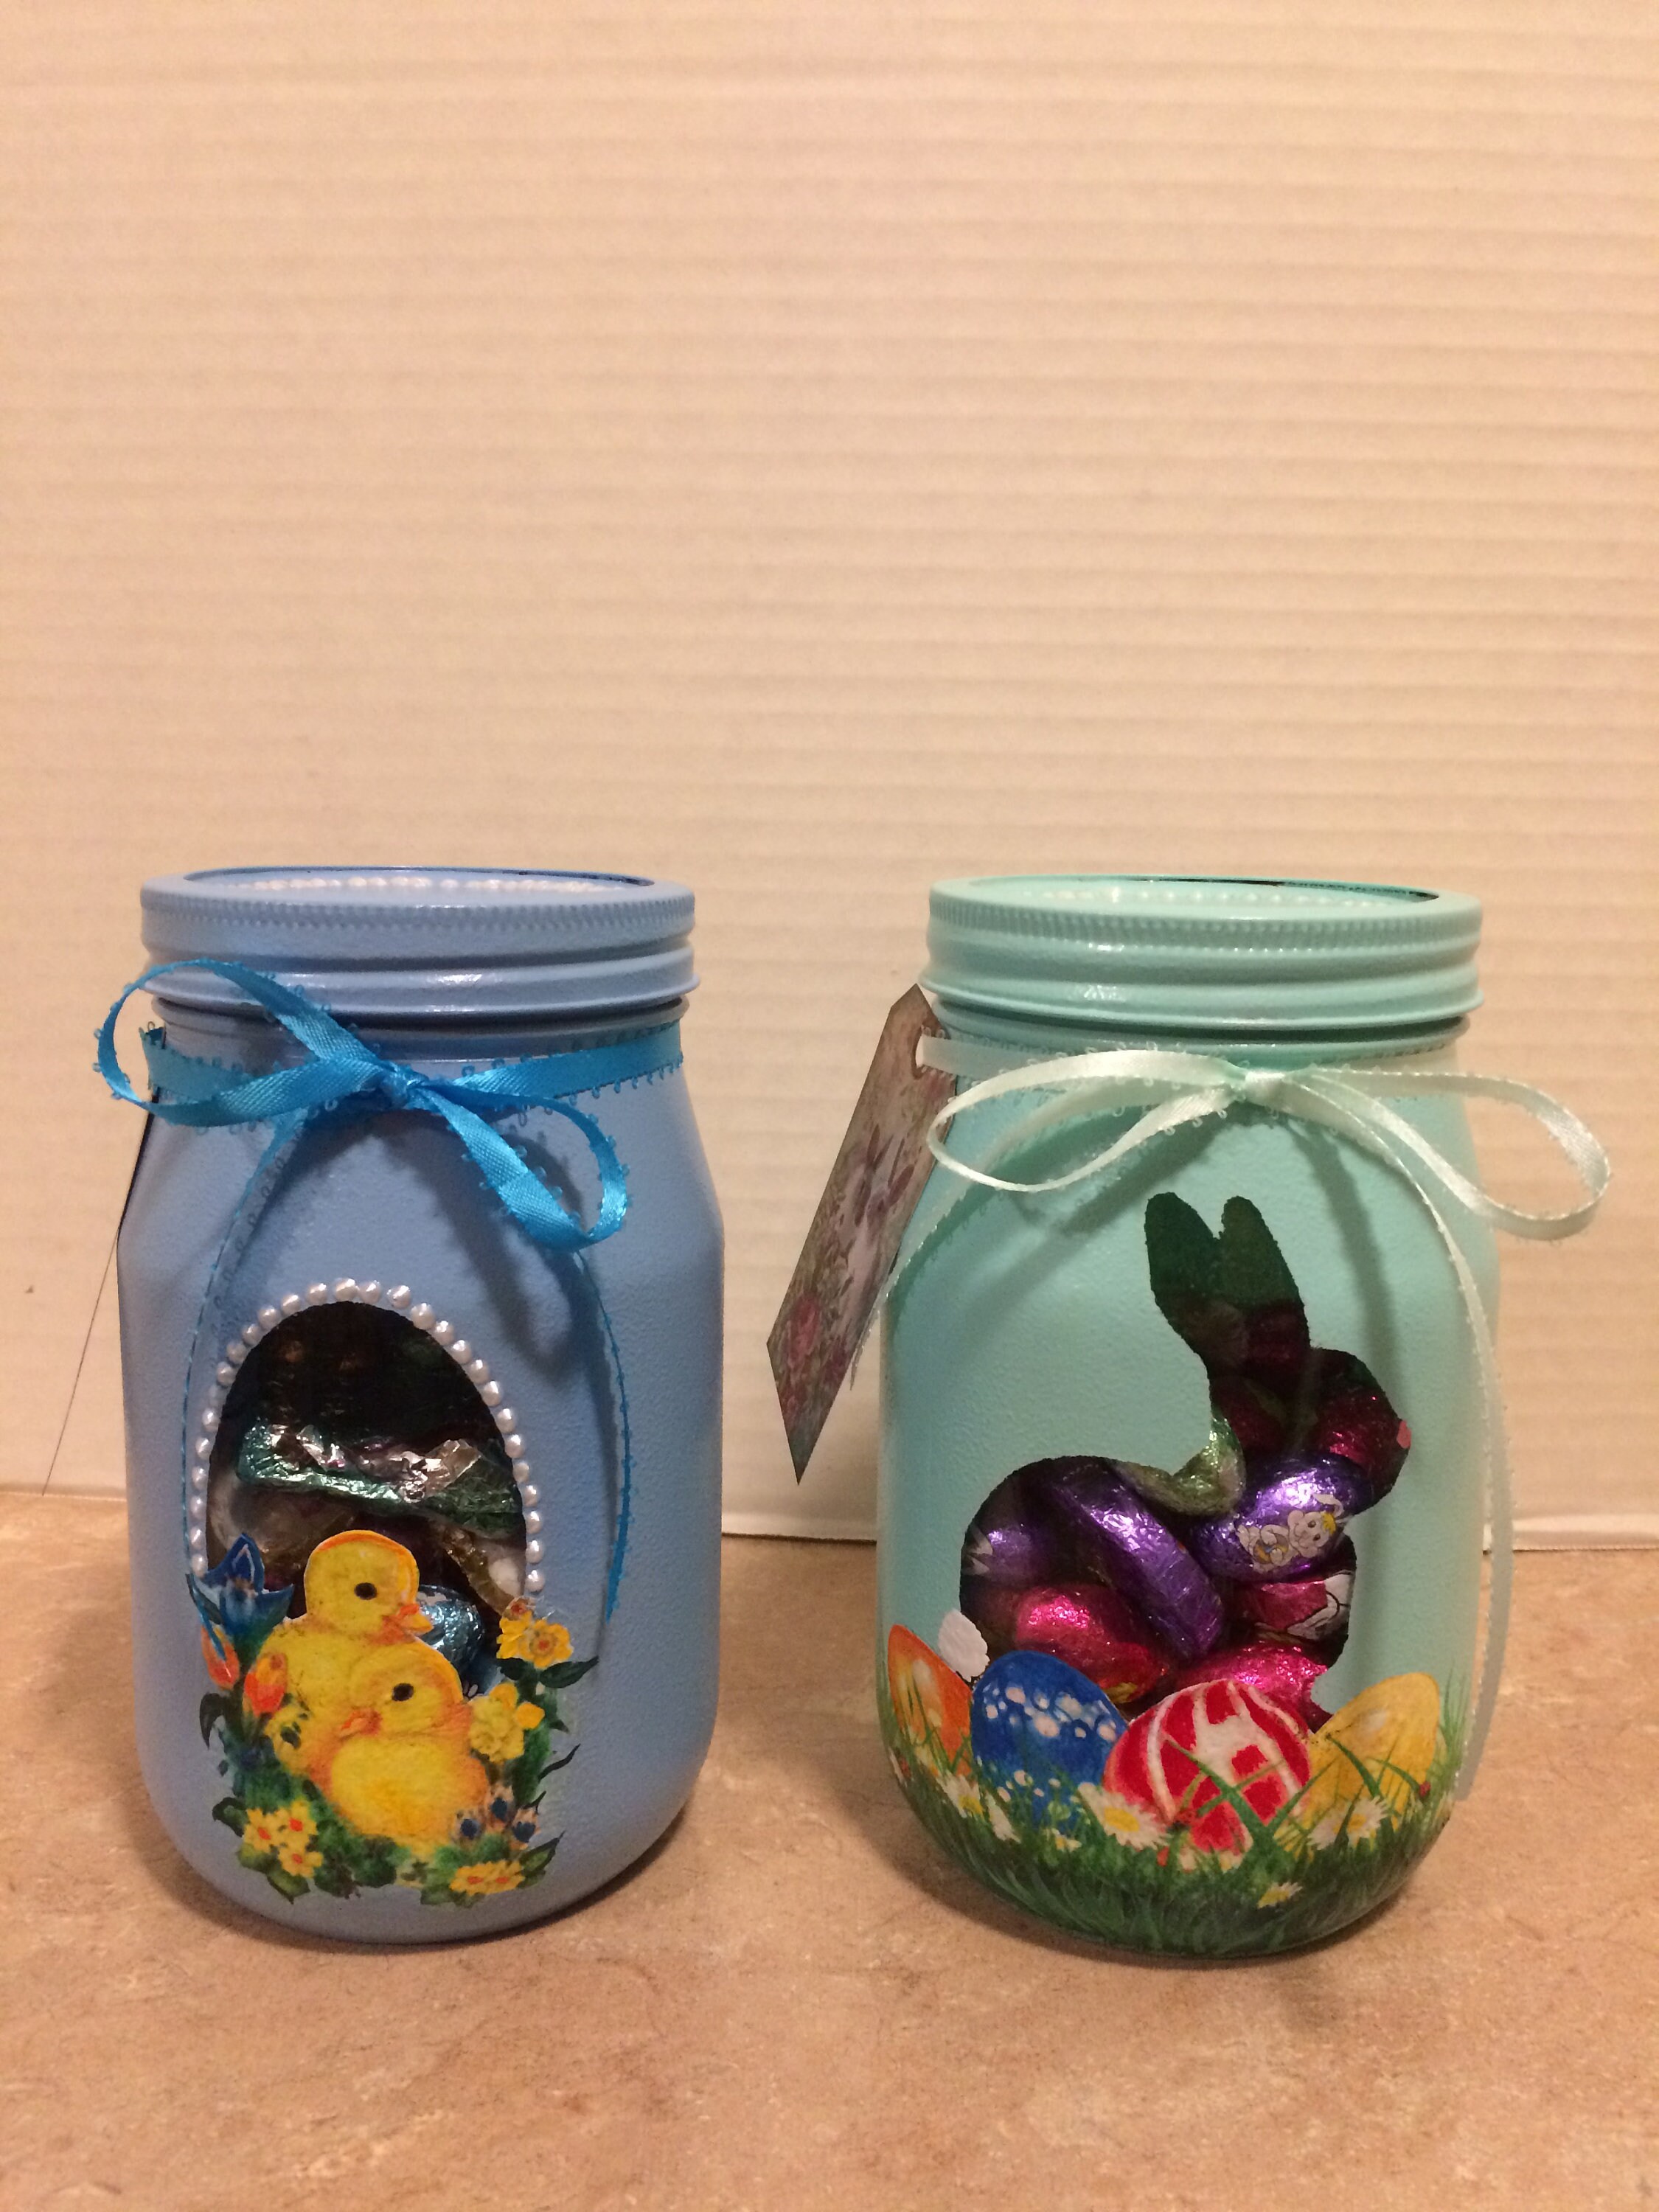
Colorful paper Easter grass. Directions: Put a handful of paper Easter grass in the bottom of the jar. Add Easter candies to fill the jar about halfway to 3/4 of the way. Stick the chocolate Easter bunny down into the Easter candy so that it will stand up by itself.

Our Hopeful Home VintageInspired Easter Candy Jars
Or whatever is easier for you. To attach the wood slices to the jar, I inserted an eye hook screw in the bark edge of the wood slice and threaded the jute twine and ribbon through it. For a very quick project and very little money, these make for an adorable one of a kind Easter candy jar. Hugs, 1 Peter 1:3 "Blessed be the God and Father of.
Easter Candy Jars Housewife Eclectic
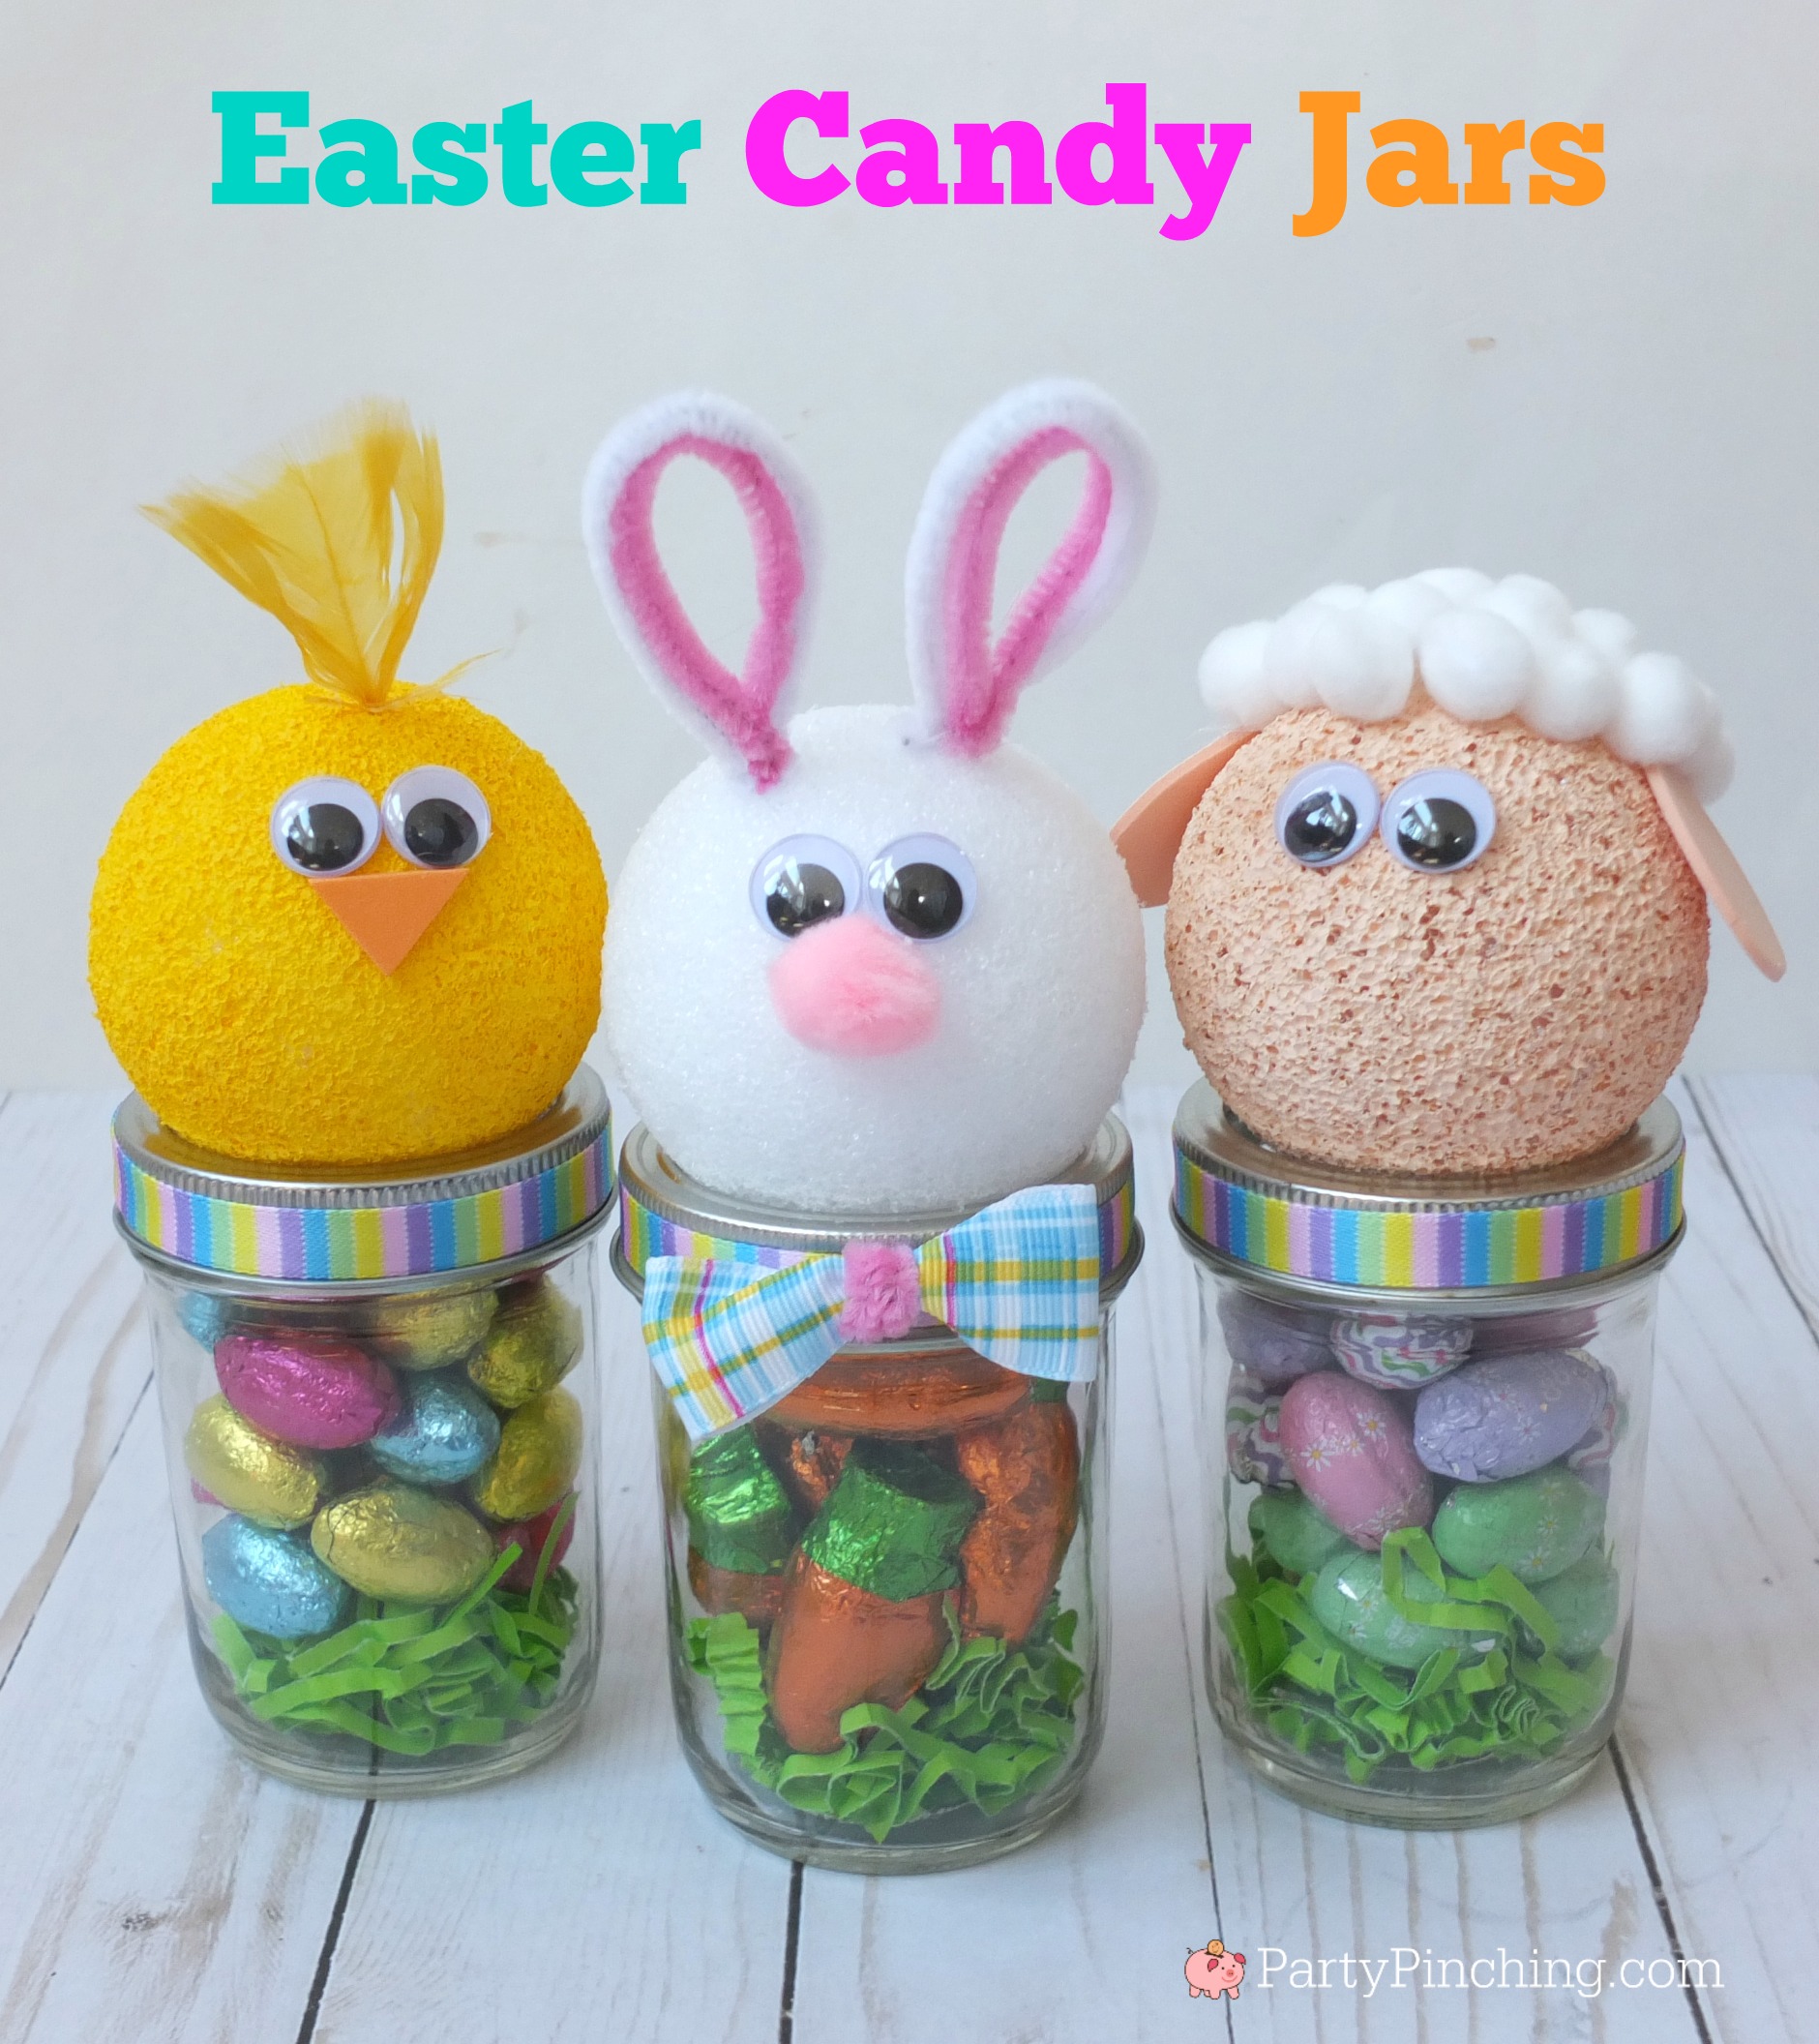
It is lots of fun to decorate for seasons, holidays and other special occasions. These bright candy jars with nesting peeps are adorable for Easter and for spring! They make great centerpieces for Easter dinner, or you can give them as gifts, a sort of grown-up Easter basket! These are easy to make if you know the right tricks.

Awesome DIY Easter Candy Jars It's a Mother Thing
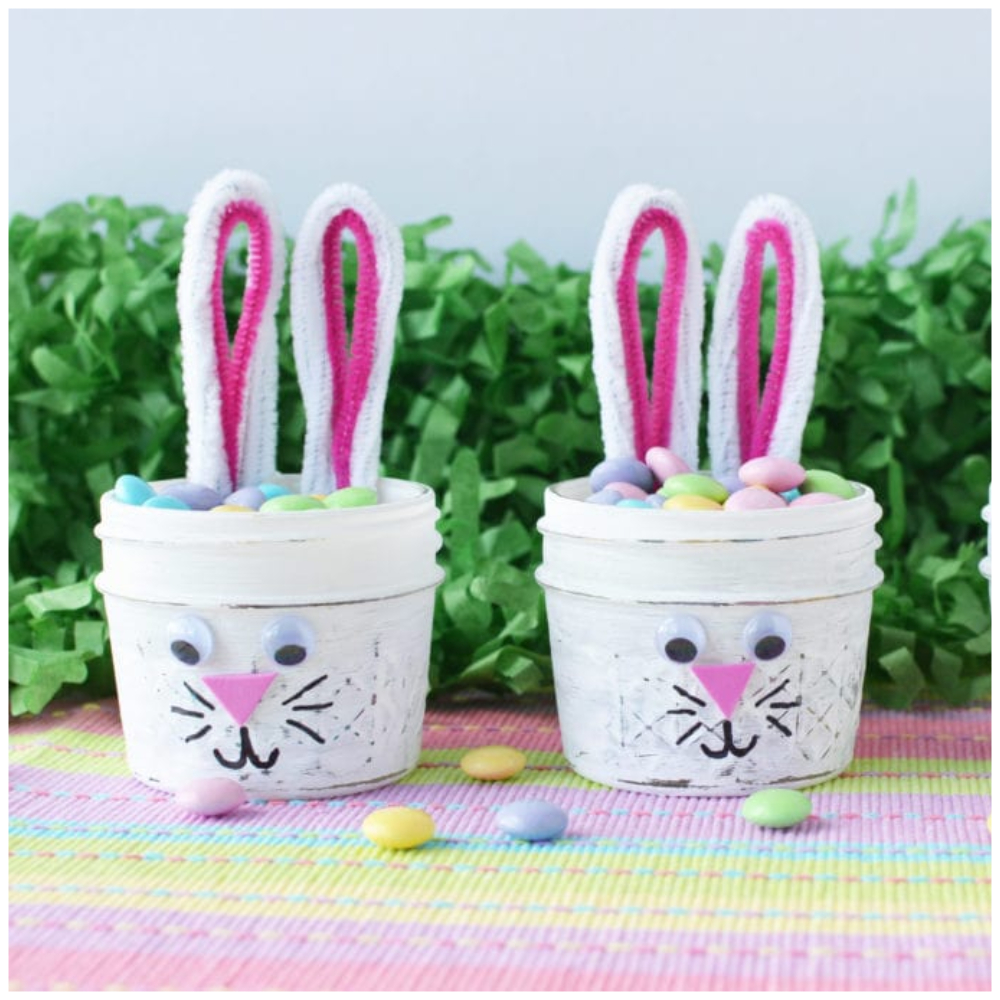
Attach to the jar with hot glue. Use a permanent marker to draw whiskers onto the jars. To make ears, Fold a white pipe cleaner in half and then twist the piece together. Fold in half again. Cut a piece of pink pipe cleaner to fit in the center of the ear. Place the pink piece inside the ear and attach to the inside of the jar with hot glue.

Awesome DIY Easter Candy Jars It's a Mother Thing
This post may contain affiliate links. See my full disclosure policy HERE.. These adorable Easter treats are the perfect Easter basket filler or work great as a stand-alone Easter gift too!. White Sixlets fill these Easter Bunny candy jars, but you could use any cite treat, or even different colors too!

Easter Candy Jars Modern on Monticello Easter mason jars, Candy
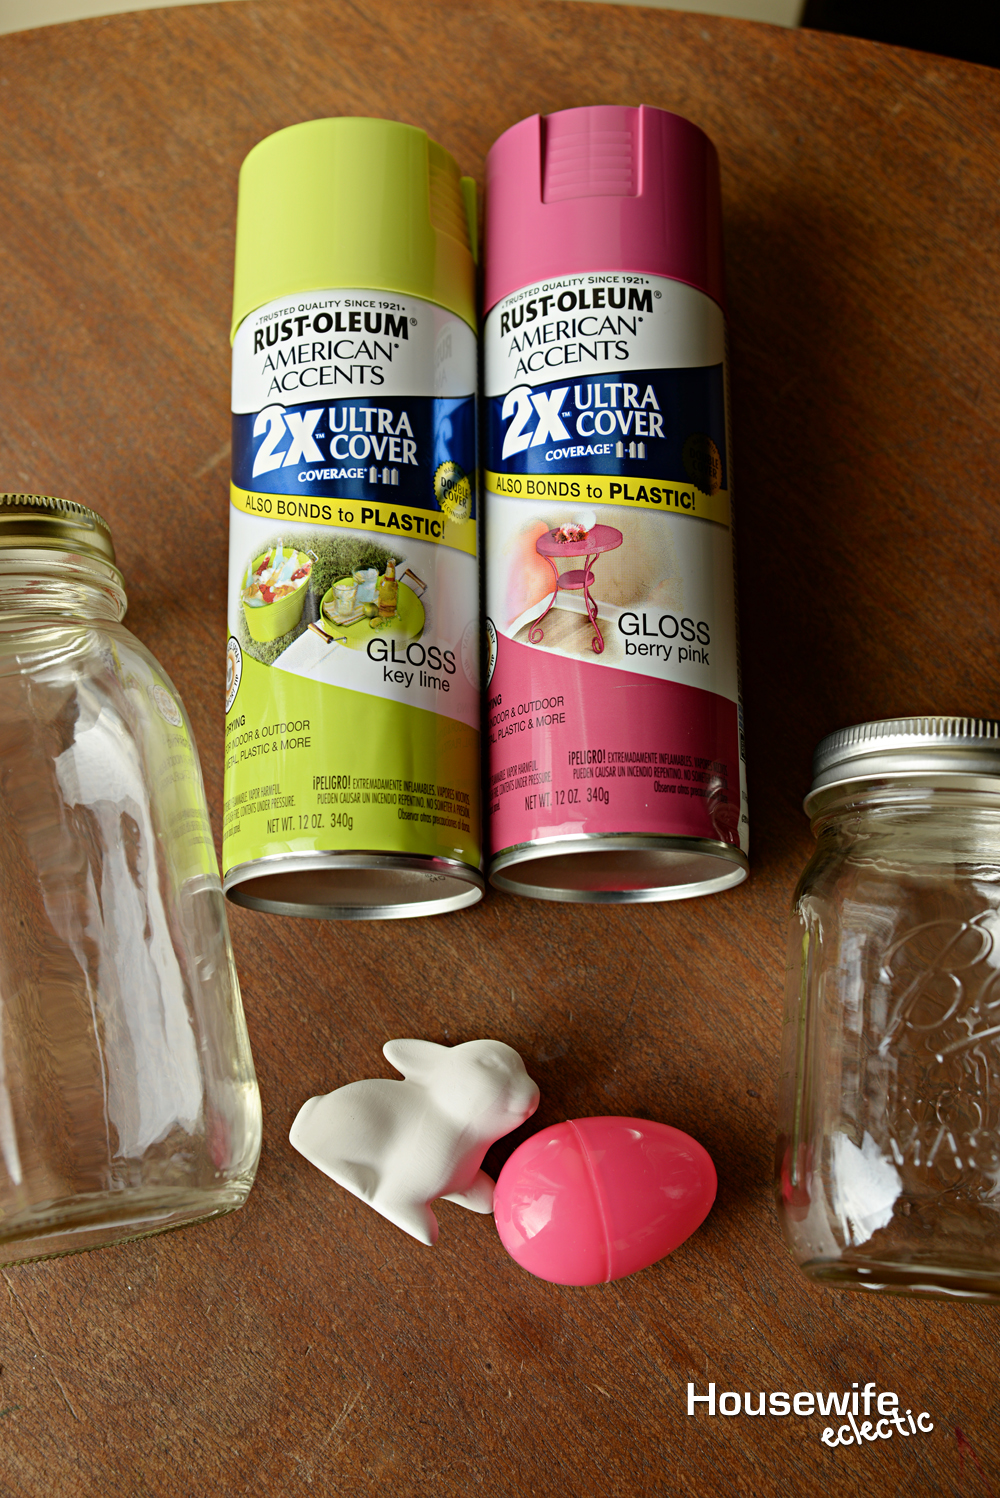
Paint your jars the desired color (we did pink for our bunny and yellow for our chick pots) Cut out of craft paper some bunny ears and glue to the back of your pot. Glue on 2 each wiggle eyes to each of your pots. Glue on a feather to the back of your chick pot. Glue on a craft paper beak to your chick. Draw on some whiskers and a pom pom nose.
Easy Easter Candy Jars Crazy Little Projects
Allow the spray paint to dry for at least 30 minutes. While the spray paint drys on the lids, add a small amount of Easter grass to the bottom of each jar. If using different sized jars, you may want to add more grass to the larger jars and less to the smaller jars.Step 2: Filling the Easter Candy Jars.

Easter candy jars Pascua
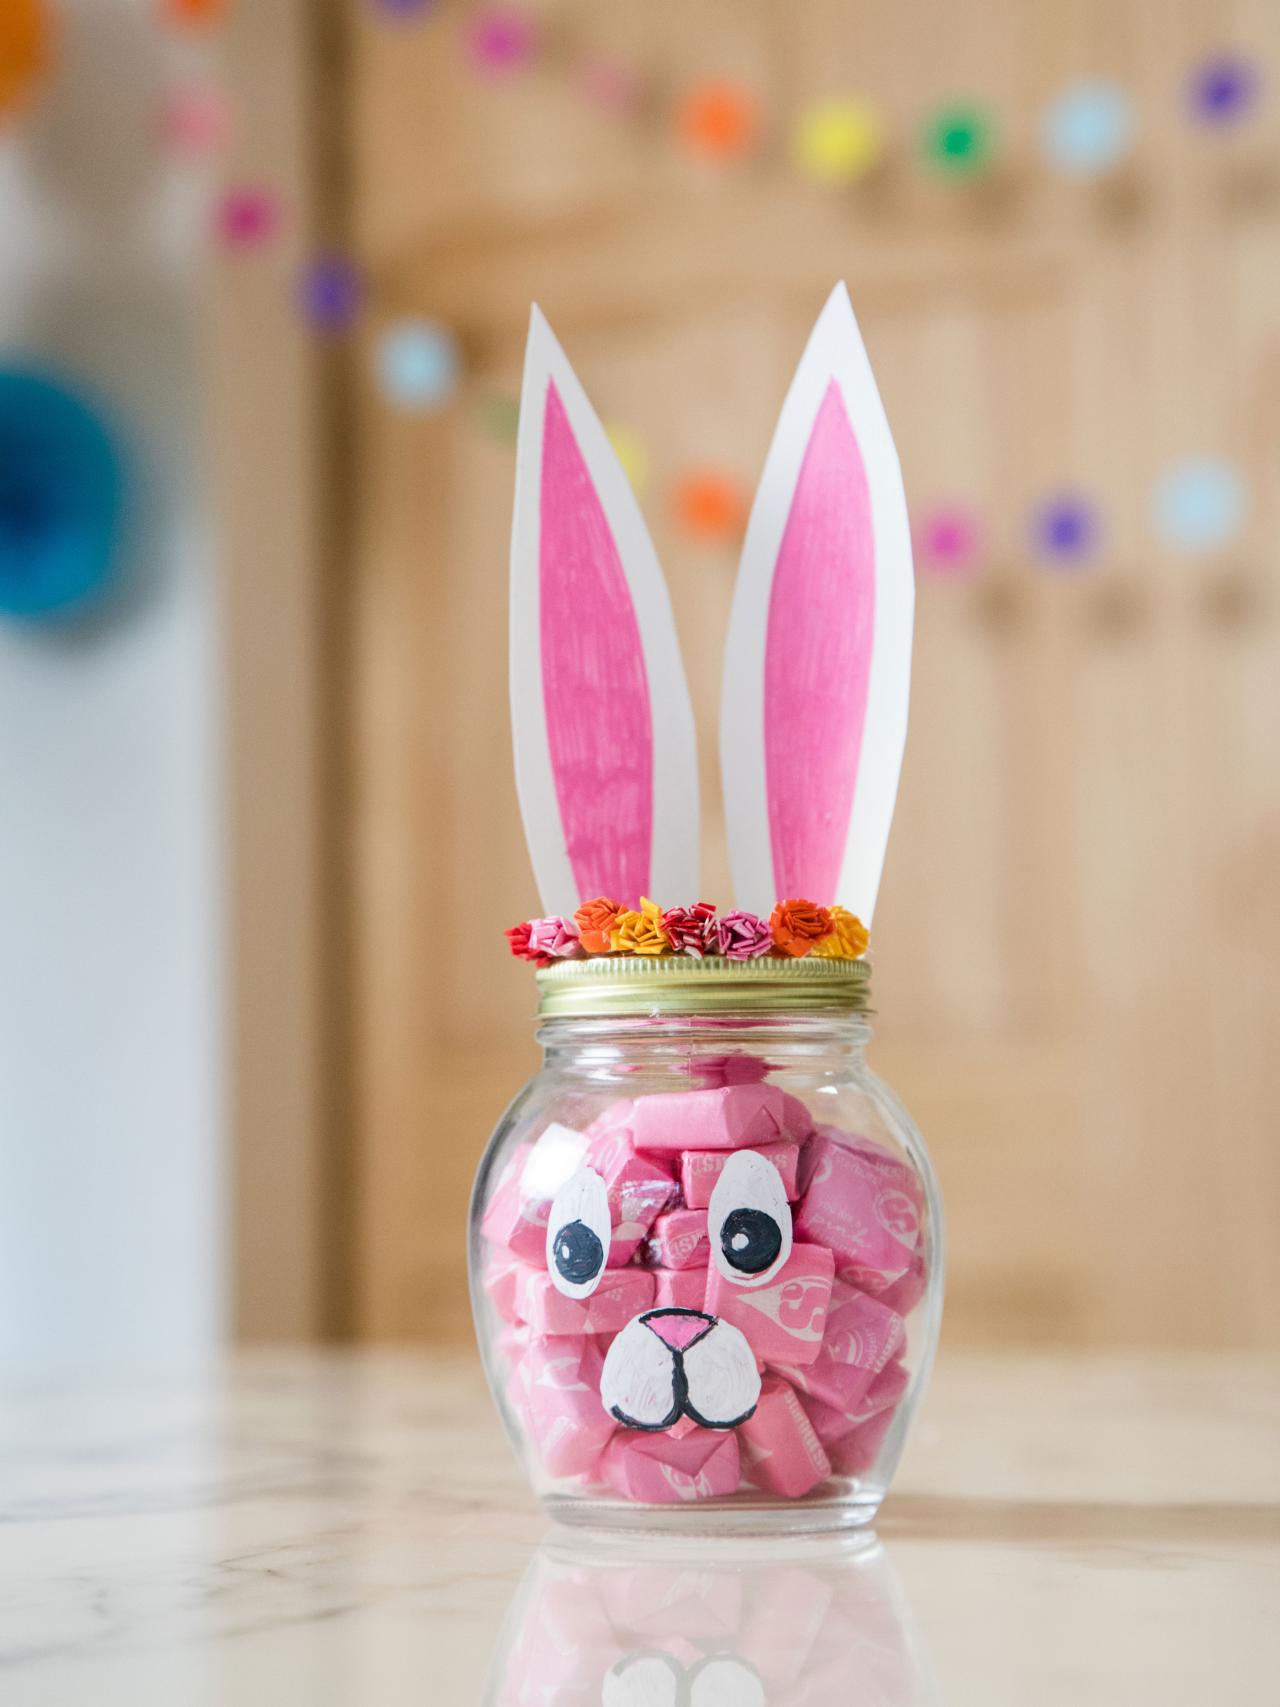
white, black and pink paint pens. clear tape. hot glue gun + sticks. cotton ball. To create a pretty pink bunny jar, start by filling your jar with pink candies and tightening the lid. Use white, black and pink paint pens to draw two eyes and a nose on the jar. Next, cut two paper bunny ears and use a pink marker to fill in the center of each ear.
How to Make DIY Candy Jars for Easter Baskets HGTV
Preparing the vinyl image. On a blank Design Space canvas, upload the Easter Egg SVG file and measure the glass jar and resize the eggs to fit on the jars as needed. We resized the largest to 3.75" high, the medium size to 2.25" high and the smallest eggs to 1" high. Select "Make It" in Design Space and choose to cut without a mat.
