
Frugal Home Design Scented Pine Cone Tutorial
Remove excess air from the bag, and seal tightly. Place the bag in a cool dark place to set for one week. This will allow the oils to fully absorb into the pine cones, and provide you with the strongest lasting scent. Once they have set for a week, remove and place in a bowl for display. 2. Scented Pine Cones With Wax.

Grow An Adorable Pine Tree From A Cone In 5 Easy Steps
Preheat the oven to 220 degrees Fahrenheit. Gently clean the pine cones between the scales with the nylon bristle brush. This will remove any bugs, dirt or loose particles. Place the cleaned pinecones in a single layer onto the baking sheet lined with parchment paper. Allow the pinecones to bake for 20 minutes.

Make Your Own Cinnamon Scented Pine Cones Christmas pine cones
Seal and shake the bag to spread the essential oil on the pine cones, and then leave them in the bag for a week. Finally, remove them from the bag, and make sure they're dry before using them to decorate. You also can use a spray bottle for a quicker and more uniform application of the essential oil. Fill the bottle with a few ounces of water.

Scented Pine Cones A Perfect Tutorial for Holiday Decor and Potpourri!
Bake the pine cones for one hour, keeping the oven at 200º Fahrenheit. The heat from the oven will melt the sap and bake it off. But even more importantly, it will also kill any hiding insects and bugs. After "baking" for an hour, remove the pine cones from the oven and allow them to cool fully before handling. Step 3.
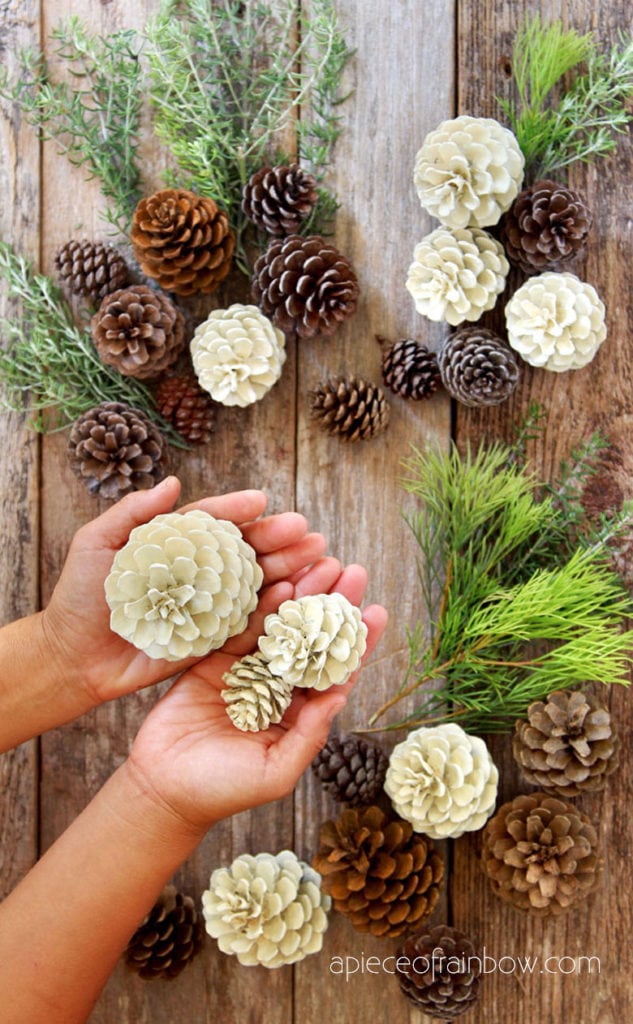
48 Amazing DIY Pine Cone Crafts & Decorations A Piece Of Rainbow
Put the cones into a plastic Ziplock bag or reusable bin. Shake 1-2 drops of essential oil onto each pine cone. Close or cover the container completely and store them away for 2 weeks so the scent gets a really good chance to penetrate them. After 2 weeks put your pine cones on a tray or in a bowl and set them away from where pets can reach them.

Make your own cinnamon scented pine cones for fall, winter and Holiday
Drying the Pinecones. Option 1: If the weather is warm and clear with no chance of rain, set the washed pinecones out on a tarp or towel in direct sunlight for 3-5 hours or until the pinecones are completely dry. Option 2: 1. The other method is to dry the pinecones in the oven. I prefer this method overall in the winter, as we often have a few sunny and warm days in the winter.

How to Make Scented Pine Cones Scented pinecones, Pine cone crafts
In a gallon-sized zip-locked baggie add pinecones. In a small spray bottle, add 1/2 cup warm water. Next, add 20 drops cinnamon essential oil. Seal the bag and then remove the excess air. Shake and roll the baggie so that the oils soak into the pinecones. After the pinecones are scented, they are ready to be displayed.

How To Make Scented Pine Cones With Essential Oils Aromatherapy
DIY scented pine cones are as fun to make as they are to decorate with! There are so many ways to get creative with scented pinecones. Here are a few fun ideas: Glue the pine cones to a string to create a festive garland. Arrange pine cones on your fireplace mantle. Place the pine cones in a decorative bowl to create a centerpiece.

Pine Cones Nature's Christmas Decoration Knick of Time
Wash pine cones off in the sink and place on baking sheet in a preheated 200 degree oven for about an hour. This dries them out, gets rid of any insects and causes them to open. Be sure to keep watch while in the oven and don't put too close to heat. Remove from oven. Put about a cup of water in the spray bottle and several squirts of oil.
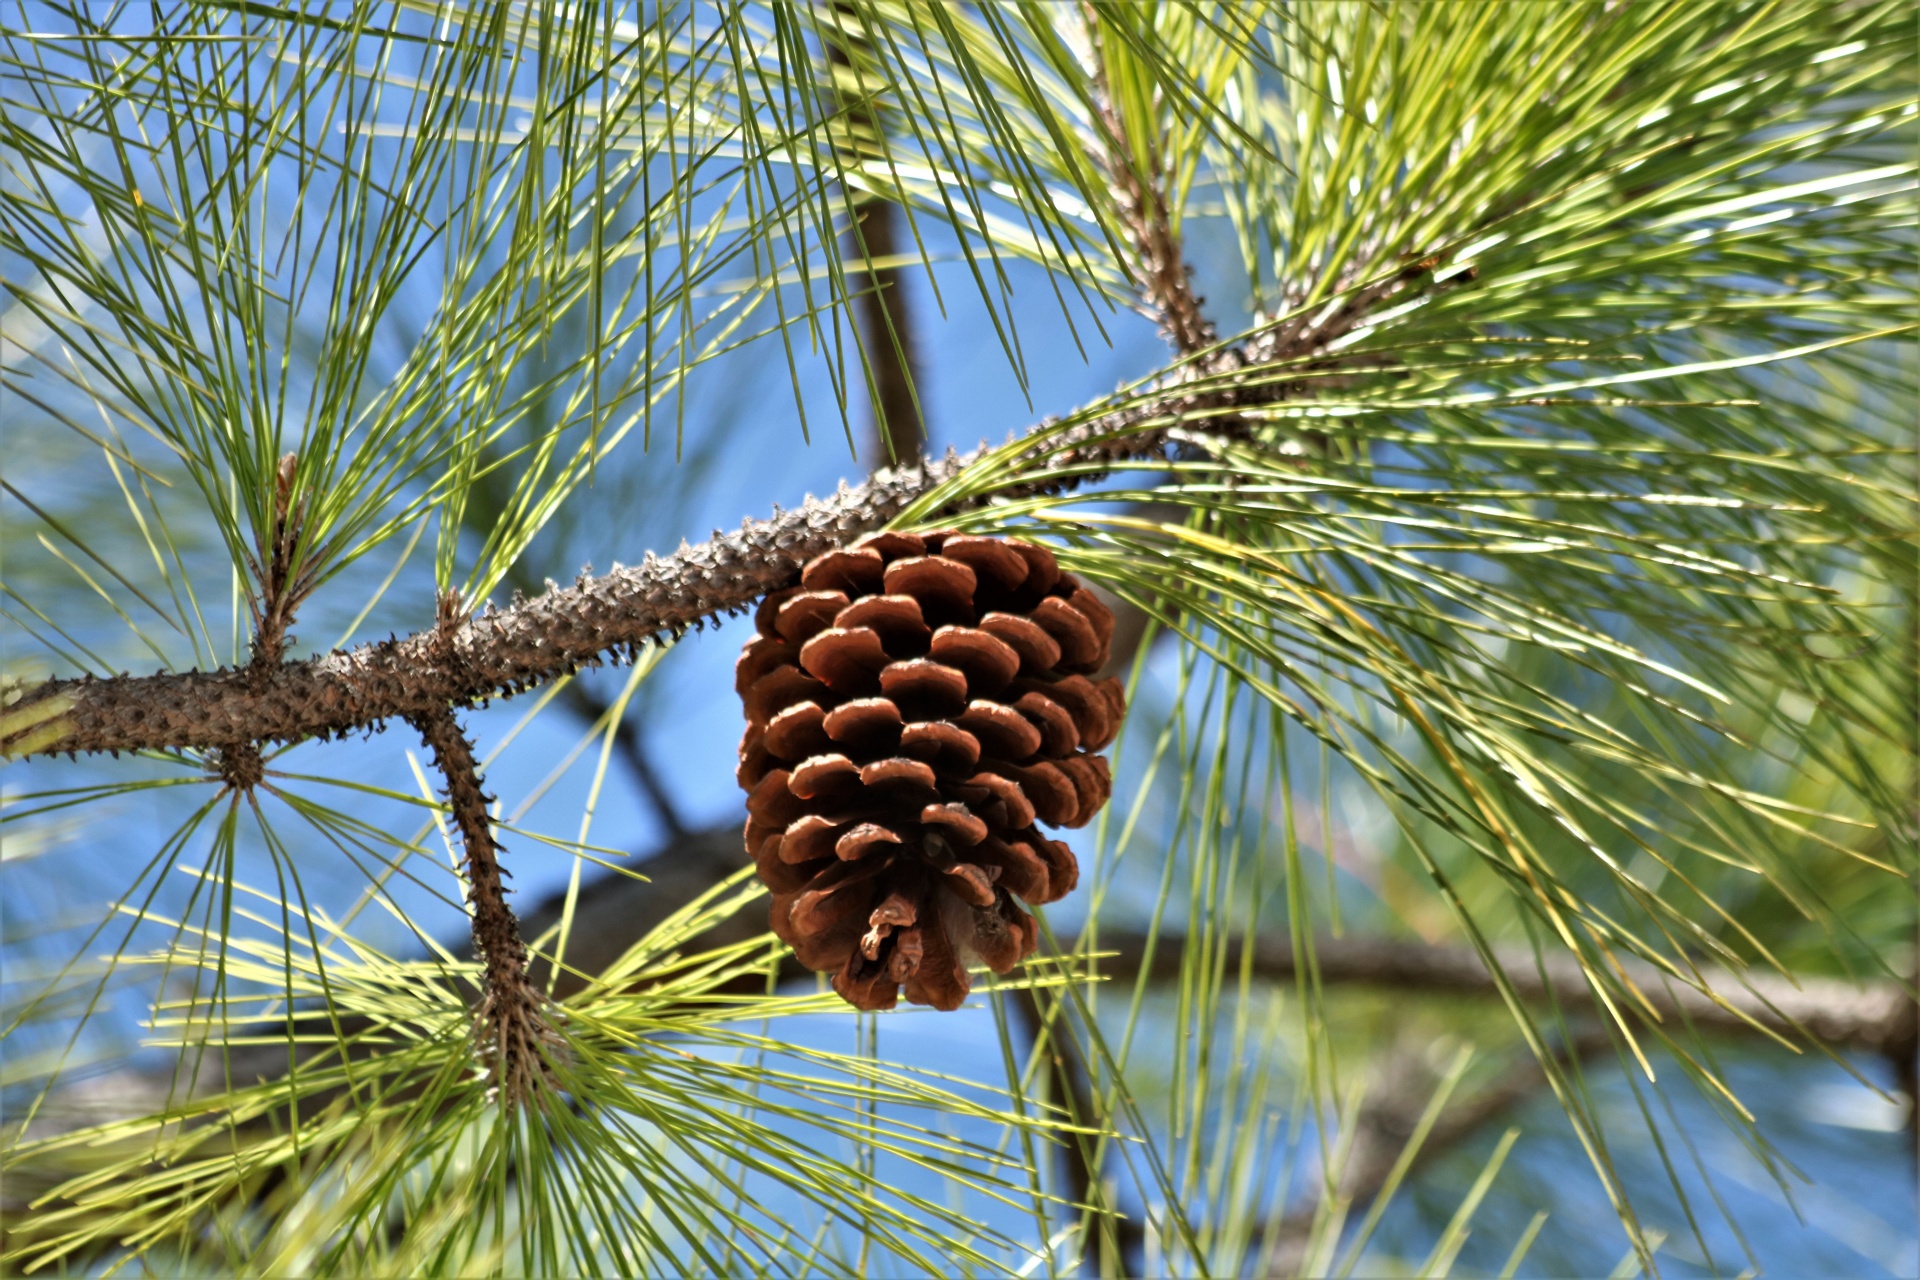
Pine Cone In Tree Closeup Free Stock Photo Public Domain Pictures
Use essential oils such as cinnamon, peppermint, citrus or frankincense and myrrh. Next set the pine cone in, on its side, and roll, covering it with wax. Then place them on waxed paper. It works best if you are able to stand them up. The one in the back was laid on its side. See how the wax gathered and made it stick to the wax paper.
:max_bytes(150000):strip_icc()/pineconeoncookiesheet-5c01b857c9e77c000141a53d.jpg)
How to Make Scented Pine Cones With Essential Oils
The carrier oil helps to dilute the essential oil and allows for better absorption by the pine cones. Soak the pine cones: Place the pine cones in a sealable plastic bag or a glass container with a lid. Pour the scenting solution over the pine cones, ensuring that they are fully submerged. Seal the bag or container and let the pine cones soak.

10 Pine Cone Crafts to Do This Fall Pine cone crafts, Cones crafts
How To Display Scented Pine Cones. These DIY scented pine cones are the perfect addition to any fall or winter table scape or holiday display. Add them to a large bowl, a tall glass jar, or a platter nestled among candles, oranges, and cinnamon sticks for a simple and classic look.

DIY Scented Pine Cones for Gifts or Decor Hearth and Vine
Clean pine cones by placing them in a bucket or sink filled with 1 part water and 1 part vinegar. Preheat the oven to 200 °F. Allow the pine cones to soak for 10-15 minutes, stirring occasionally. Remove pine cones and place on a towel to remove excess water. The pine cones will have closed themselves due to moisture.

Times of the Islands Dreams of Pine Cones Aplenty
I use three different types of glue to stick the cinnamon on the pinecones, depending on which one I have on hand: Option 1: Spray adhesive. Transforming pine cones into festive decor. Option 2: Mod Podge Ultra (spray-on) Scented home decor. Option 3: Regular white glue. Spray the adhesive onto the pinecone.

How To Make DIY Scented Pinecones Pine cone crafts, Cones crafts, Diy
Preheat the oven to 325 degrees and place pine cones on a single layer on a large baking sheet. "Bake" the pine cones for 15-20 minutes, then remove from oven and let cool. Once your pinecones are cooled, you can begin adding the cinnamon scent. To do this, take your cinnamon oil and simply add 1-2 drops to the inner part of the pine cone.

Pine Cone Christmas Tree Centerpiece Pinecone crafts christmas
Preheat the oven to 200°F and place the pinecones on a baking sheet. Bake them for 30 minutes, turning them over halfway through. After baking, allow the pinecones to cool completely. This ensures that they are ready to be used for cinnamon pinecones or other crafts such as garlands or photo displays.
