Crown Moulding and Wainscoting Installation Basics
The measurement you take on the wall is the "long side" of the mitered cut. Step 4: Install. Using your level and nail gun, install each piece of trim to your walls, referencing the measurements and spacing that you've pre-planned out. Your corner cuts should line up perfectly to make a box. Step 5: Finishing details: caulk and paint.

Wainscoting Wainscoting styles, Baseboard styles, Dining room wainscoting
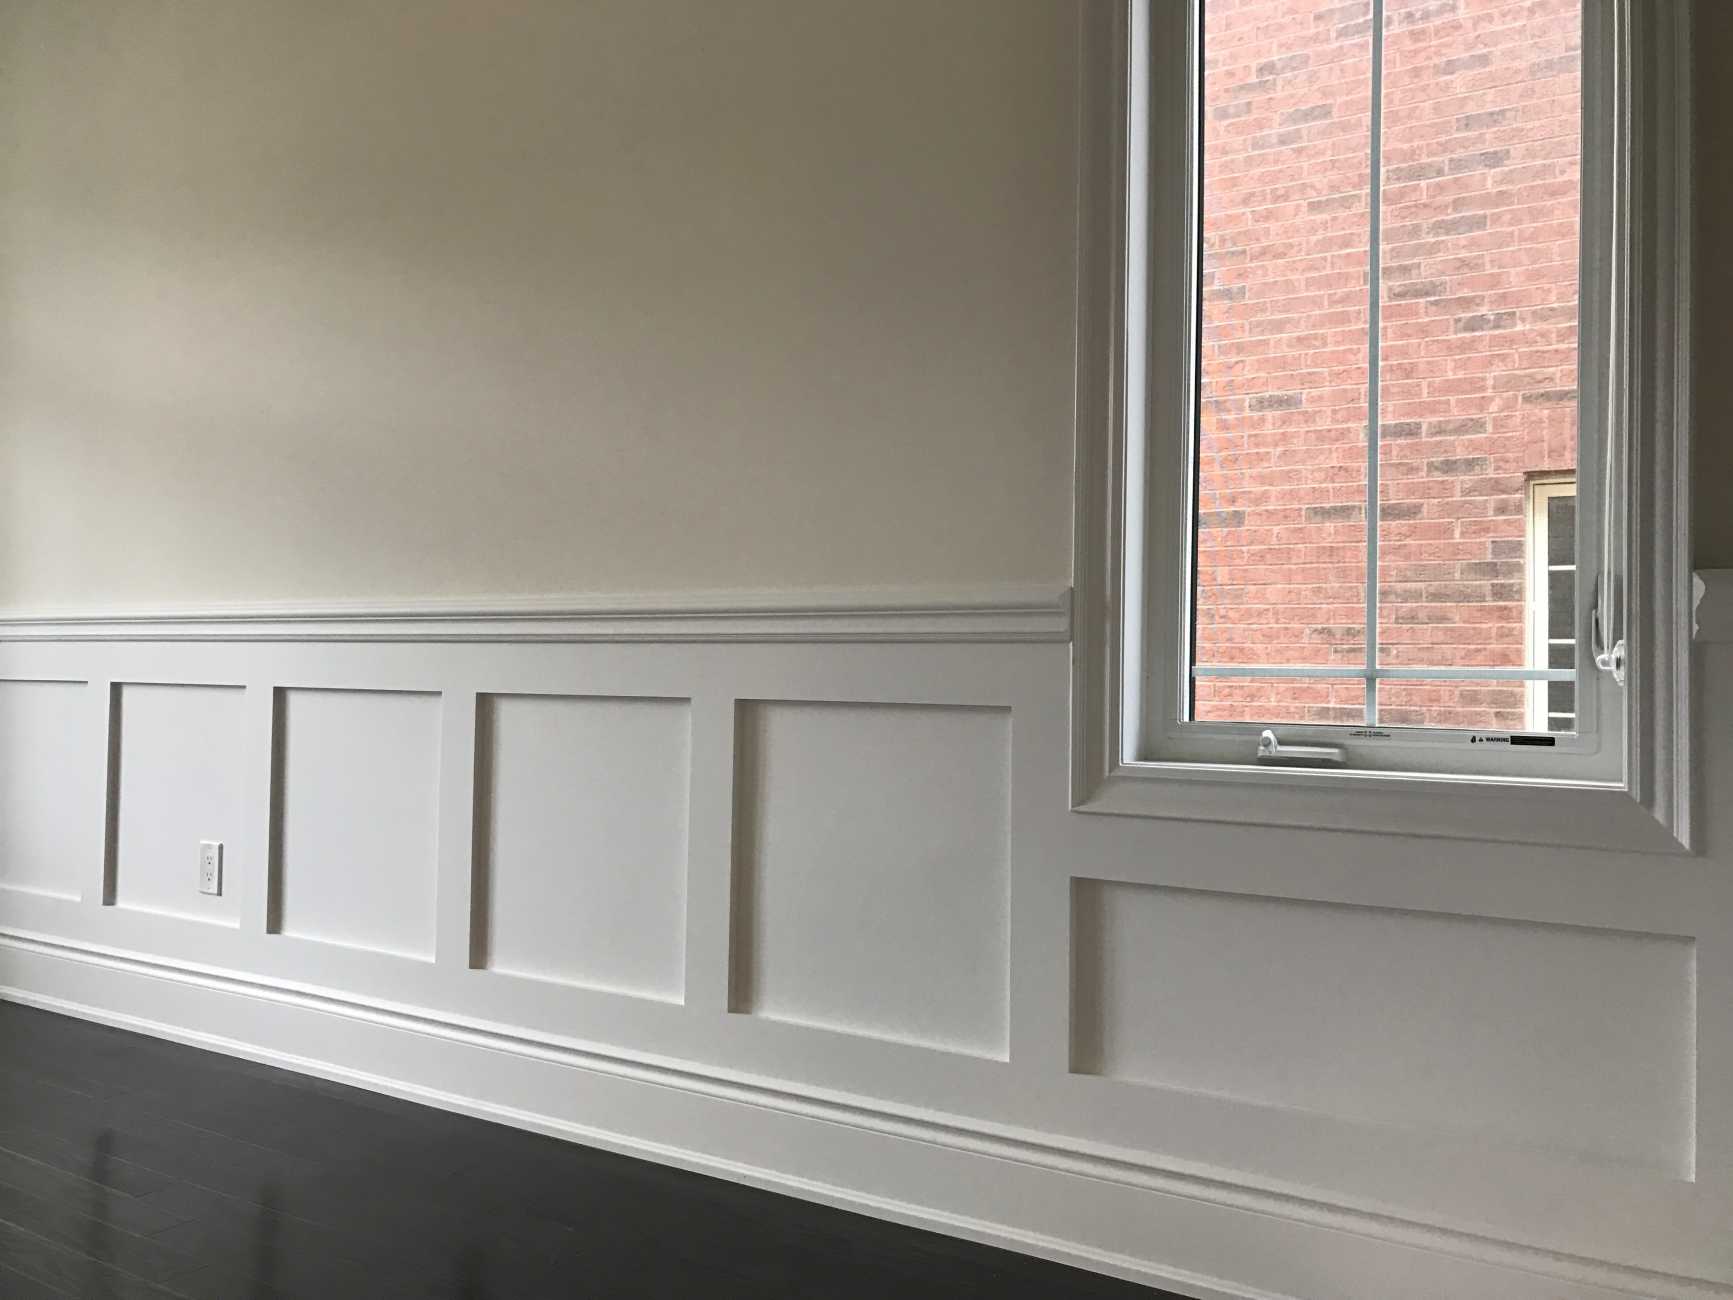
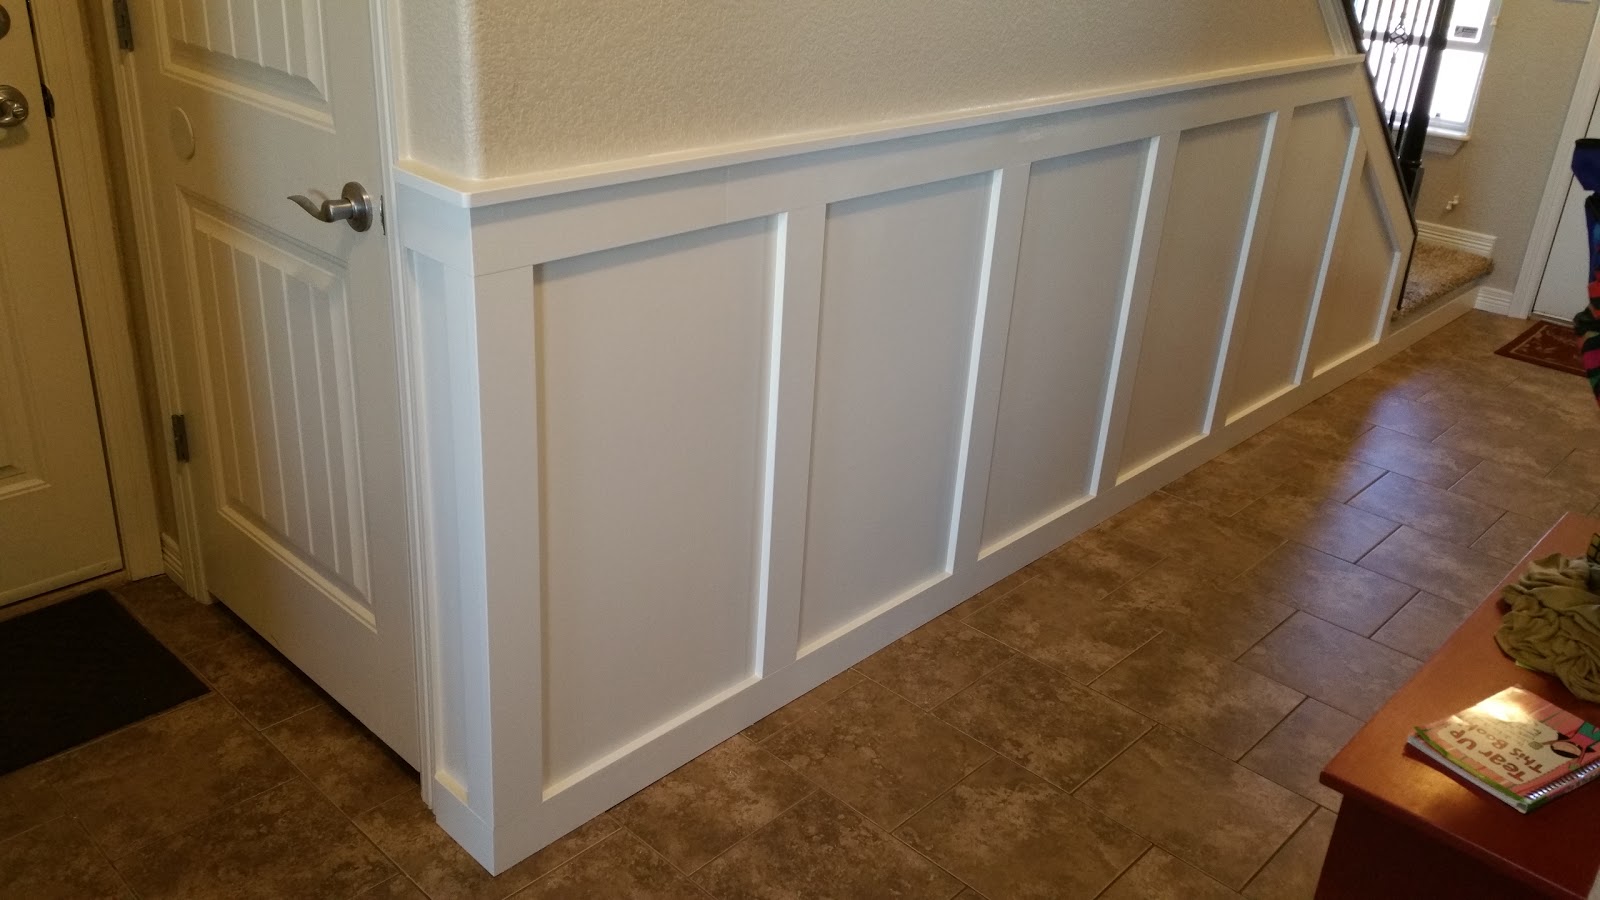
Paired with Base Trim and often Chair Rail Molding, Panel Moldings allow you to create your own Wainscot look, with the added convenience of planning and executing your design on site. This helps you to avoid costly measuring errors and to build your wall treatment around the natural obstacles of a room (such as windows, doorways, and vents).
Wainscot Paneling Wainscotting
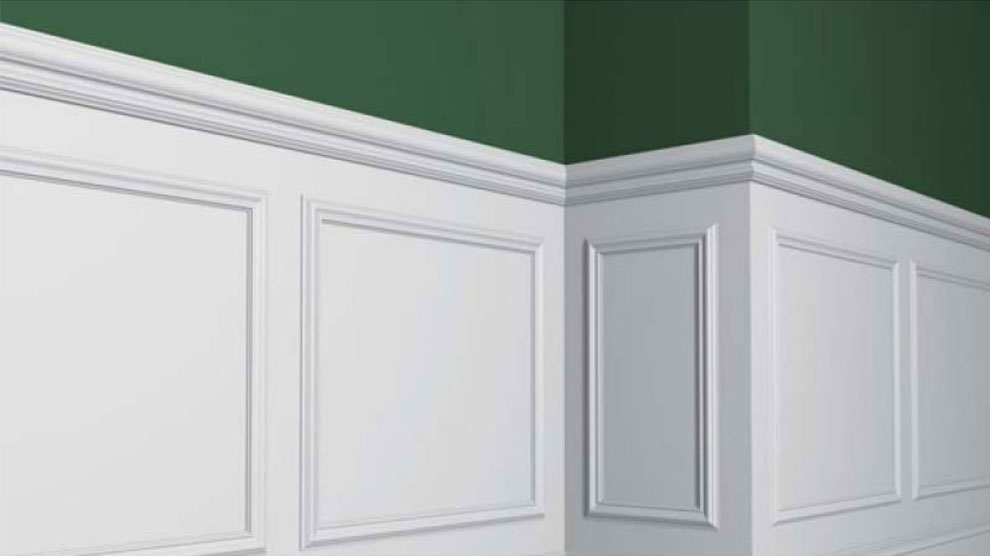
Wainscot Cap Moulding. # 54-2d (caf) We have 3 styles of Wainscot Cap Moulding to. expertly finish the top edge of your wainscoting. Click on a drawing to view larger. Cap Moulding (54-210) Shown above and to the left. 11/16" x 2". Will extend the height of your wainscoting about 1-1/4". Notch fits over the edge of 3/8" to 3/4" thick wainscotting.

Dimensional Lumber, Wood Trim, Wainscoting, Baseboards, Trim Detail, Mouldings, Doors Interior
Exterior Trim & Mouldings Back By Product Name. Cellular PVC Trim S4S Trimboard™ Conceal™ Trim System SurEdge™ Trimboard. Our wall and wainscoting profiles introduce personality, warmth and intimacy to any room, especially family and dining rooms. A variety of looks come in the form of precision angles, crisp details, white or.
Toronto's Wainscoting Experts VIP Classic Moulding
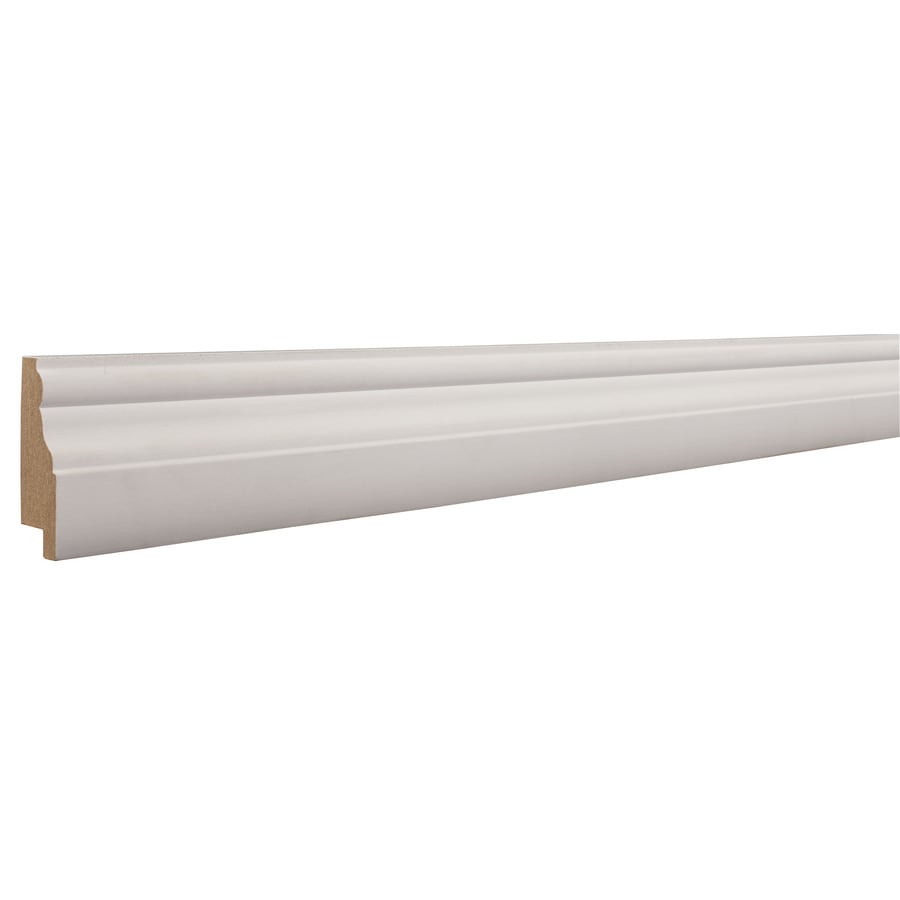
Product Length (in.) 96 in. 96 in. 84 in. 96 in. The House of Fara 3/4 in. x 3 in. x 8 ft. Primed MDF wainscot base works well in conjunction with our W275MDF chair rail and 32MDF 32 in. MDF tongue and groove wainscot. Sold in individual pieces to allow.

Wainscot Caps & Federal Panel Moldings, detail moldings WindsorONE Dining room wainscoting
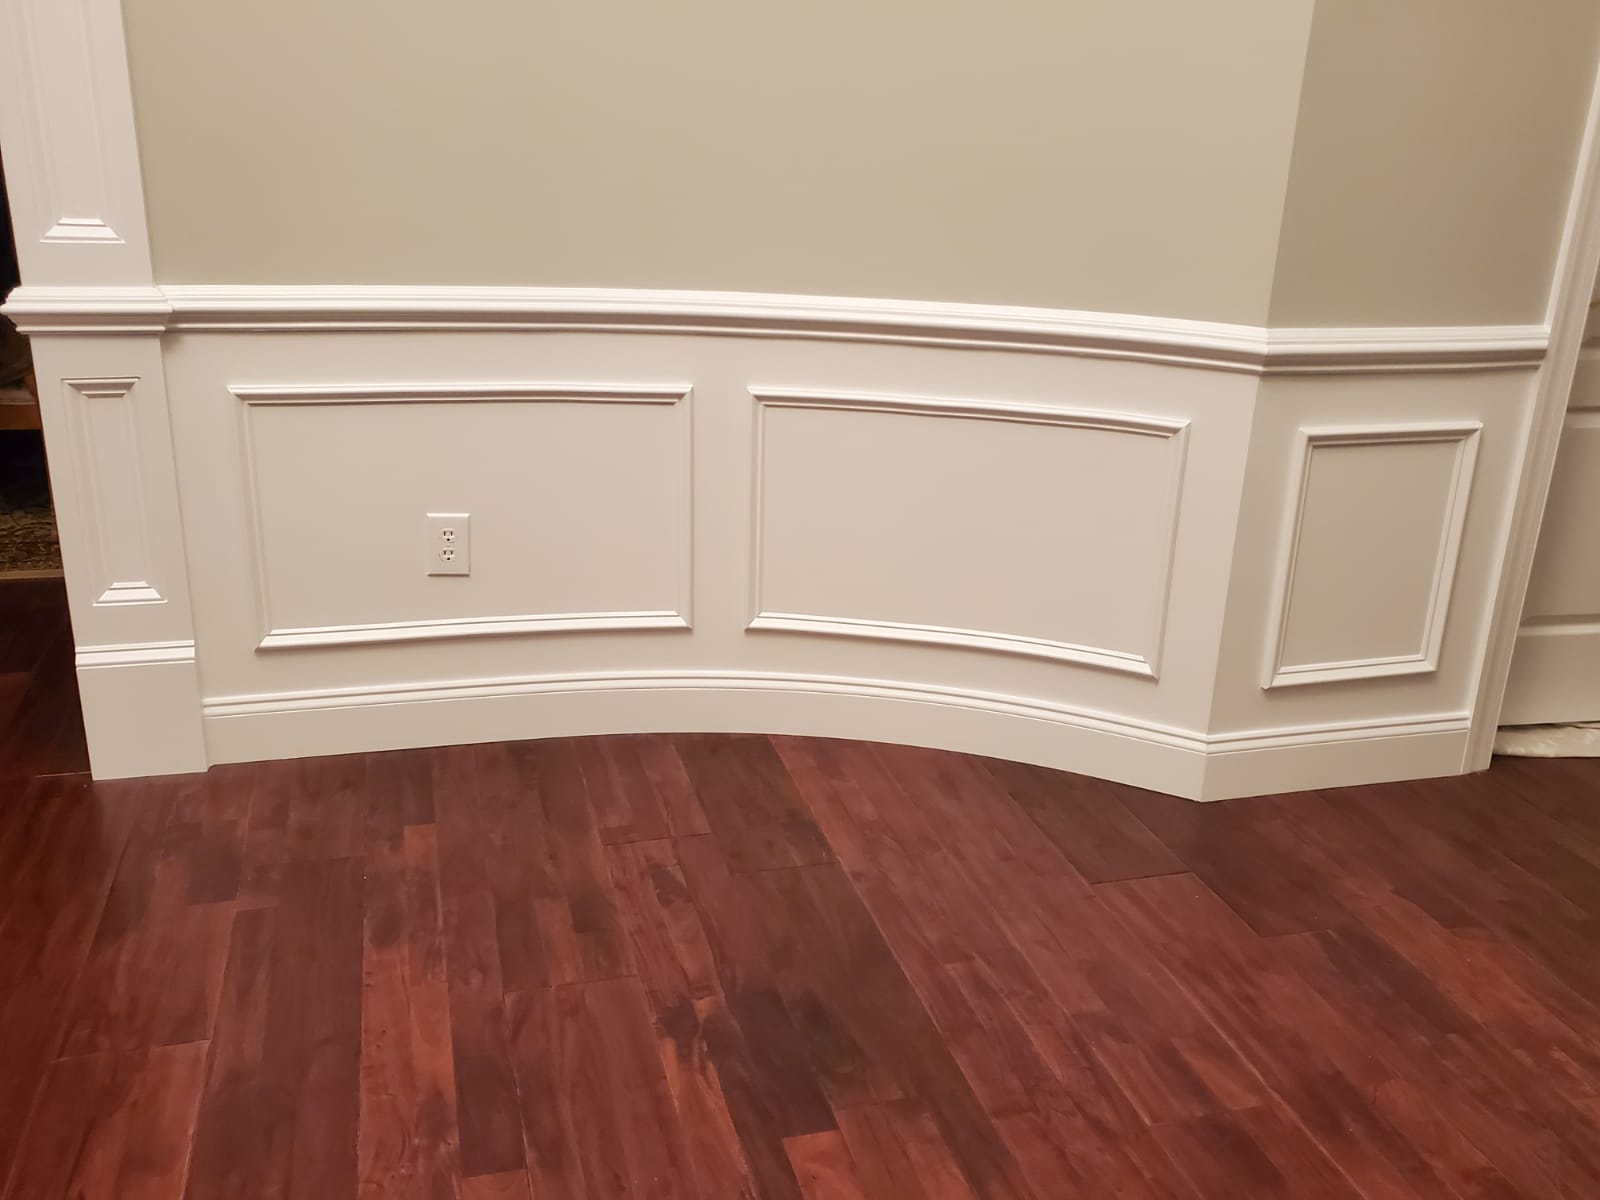
Wainscoting refers to decorative wooden panels, moldings to simulate panels or beadboard, lining interior walls. Wainscoting has been used for centuries to add decorative touches, to help to protect the walls, and in the past to fight dampness. Nowadays wainscoting is used for decorative purposes. Beadboard can be a style of wainscoting.
How to Install Wainscoting V.I.P Classic Moulding
Step 3: Fasten to the Wall. Squeeze construction adhesive in a zigzag pattern onto the wall side of a panel, and press the wainscoting panel into place. Nail along the edges as indicated by the manufacturer. If you're hammering the nails by hand, use a nail set to indent each nail so you can cover it with putty. Repeat with the remaining panels.

Pin by Renovation Ideas on Molding Wainscoting panels, Wainscoting styles, White wainscoting
How To Trim Wainscoting Step 1: Attach Beadboard to the Wall The first step in trimming wainscoting is attaching the beadboard to the wall. Start by using a stud finder to locate and mark the center of each stud along the walls. Then, apply a generous amount of construction adhesive to the back of the first panel and press it against the wall.

Wainscoting Project Gallery VIP Classic Moulding
By using a combination of decorative boards, panels and molding that extend partially up a wall, wainscoting enjoys a centuries-old tradition of combining form with style. The Dutch used wainscoting as early as the 1300's to shield the bottom half of plaster walls from being bumped by chairs and shoes. Wainscoting still guards walls today.

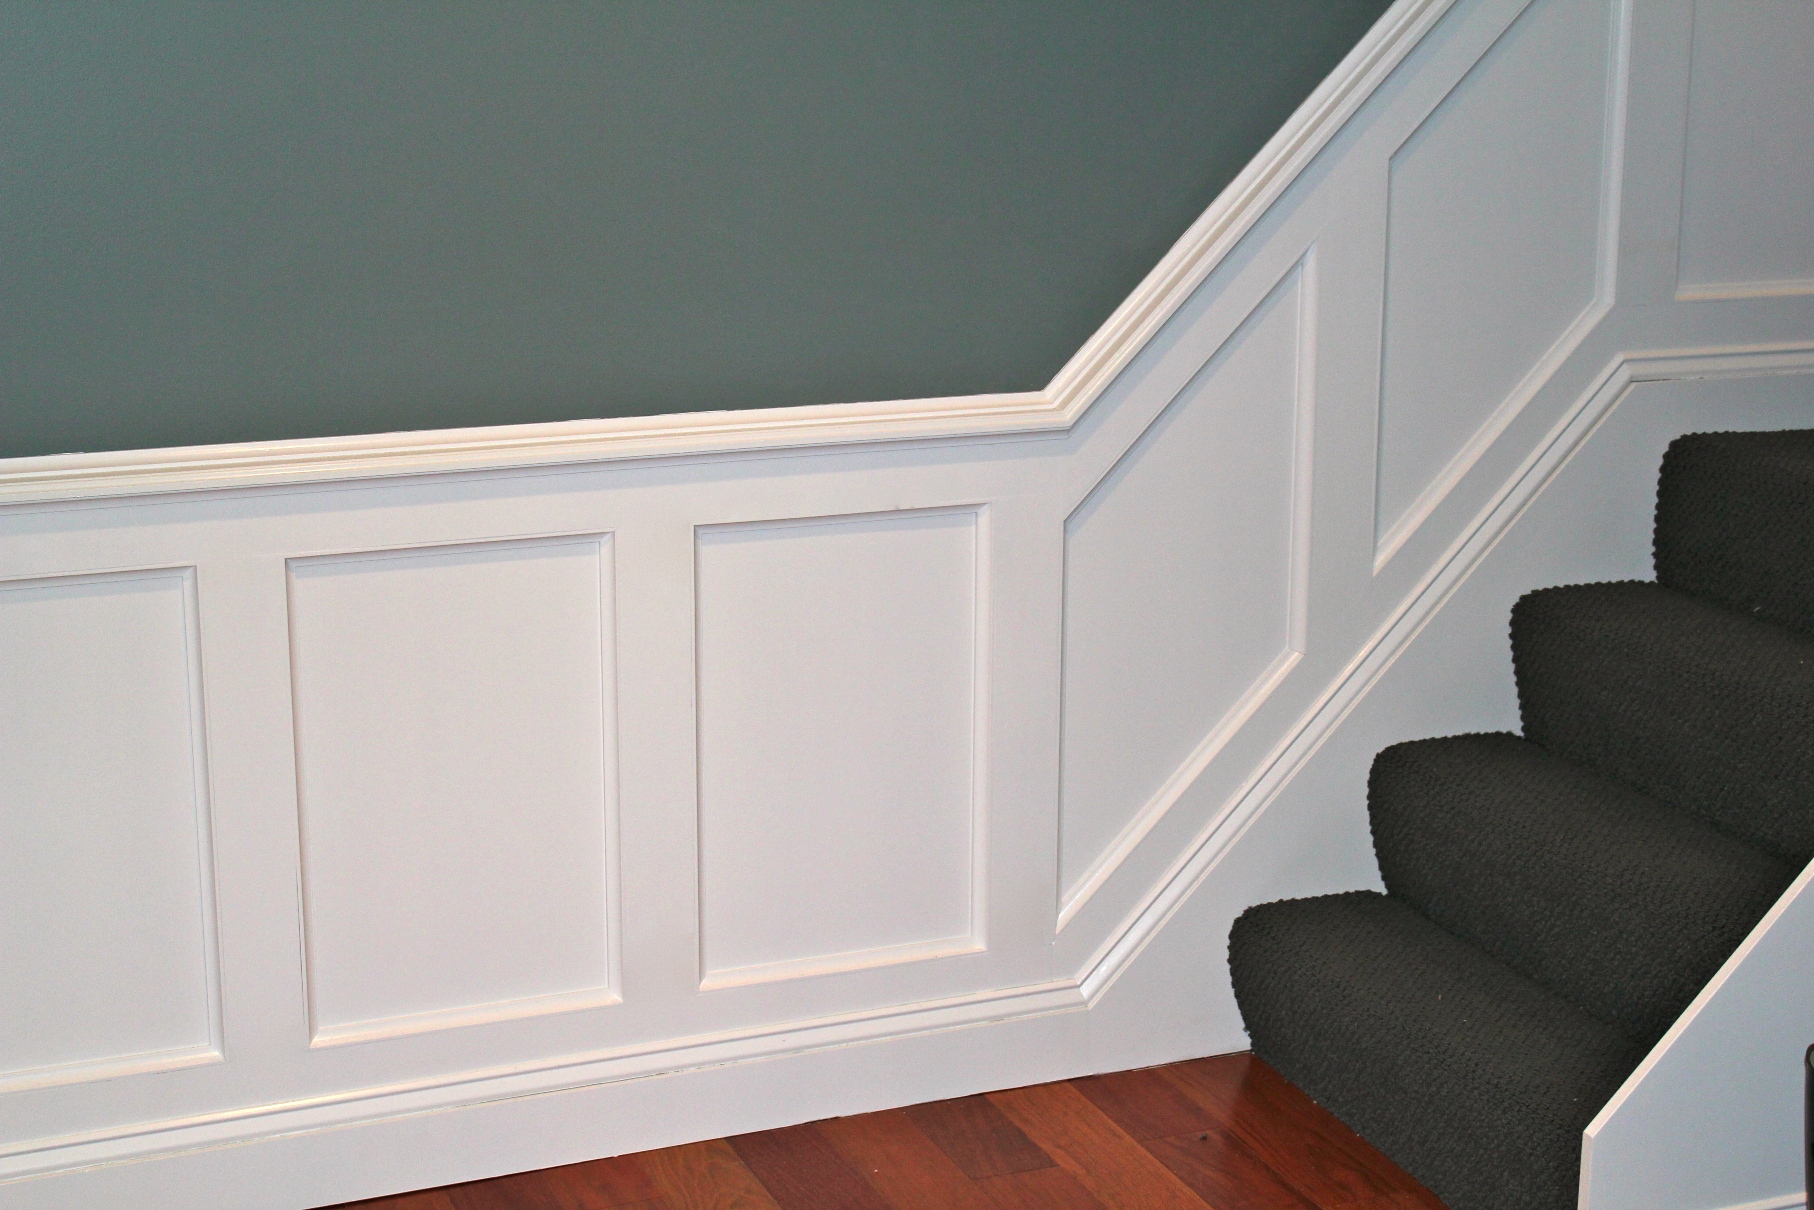
Pin by JL Molding on Staircase wainscoting Updating house, Diy wainscoting, Flooring for stairs
Coordinate window trim, casing, and wainscoting to highlight an architectural feature window. Kate Marker Interiors finished bathroom bay windows above a large soaking tub with raised panel wainscoting that complements the wood trim, painting the wall in pearl gray to emphasize the window and its trim detailing. Patterned Roman shades add a.
Wainscoting Molding The Painting and Trim Experts
Moulding and Trims for WainscotingIf you'd like any help with windows, doors or staircases, just give us a call, and any one of us will give you whatever help you need. Measure the walls to be covered, and draw a layout of the room. Indicate the measurements of the walls on your drawing. We will help you use the measurements to determine how much moulding to purchase.Common configurations.

DIY wainscoting using chair rail and trim and picture frame moulding. Semi gloss bright white
We can help 888-563-0002. Shop now for Custom Wainscoting - Raised Panel, Recessed and Shaker Panels. Made in The USA.. or 5" wide fluted pilaster widths to trim your windows and doors.. The Top Cap Molding provides a simple and elegant look to your wainscoting. This intricate molding is custom manufactured specifically for our custom panels.
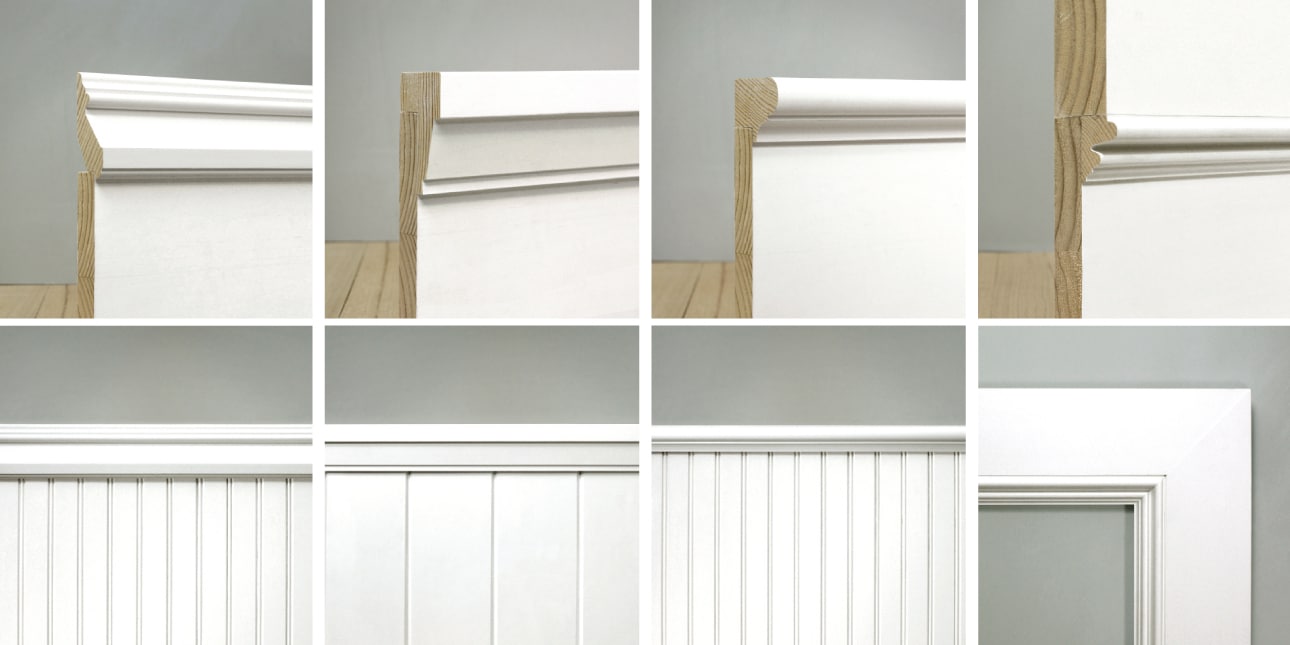
Wainscot Caps & Federal Panel Moldings, detail moldings WindsorONE
No panels are needed. We offer both Reassessed and Shaker styles. Regardless of your design preference, your walls must be in good condition. If you're considering wainscoting for your home remodel, consider planning for your staircases. Our systems allow stiles to be cut on-site, accommodating various staircase angles.
J.Genz Creations Wainscoting
17 products in Wainscot panel cap Wall Panel Moulding Pickup Free Delivery Fast Delivery Sort & Filter (1) Type: Wainscot panel cap Clear All Sequentia .865-in x 8-ft Finished Vinyl Wall Panel Moulding Model # 79158 Find My Store for pricing and availability 54 RELIABILT 2-in x 8-ft Primed Composite Wall Panel Moulding Model # WCAP 8FBDPM

Wainscoting in a hallway Wainscoting, Home, Moldings and trim
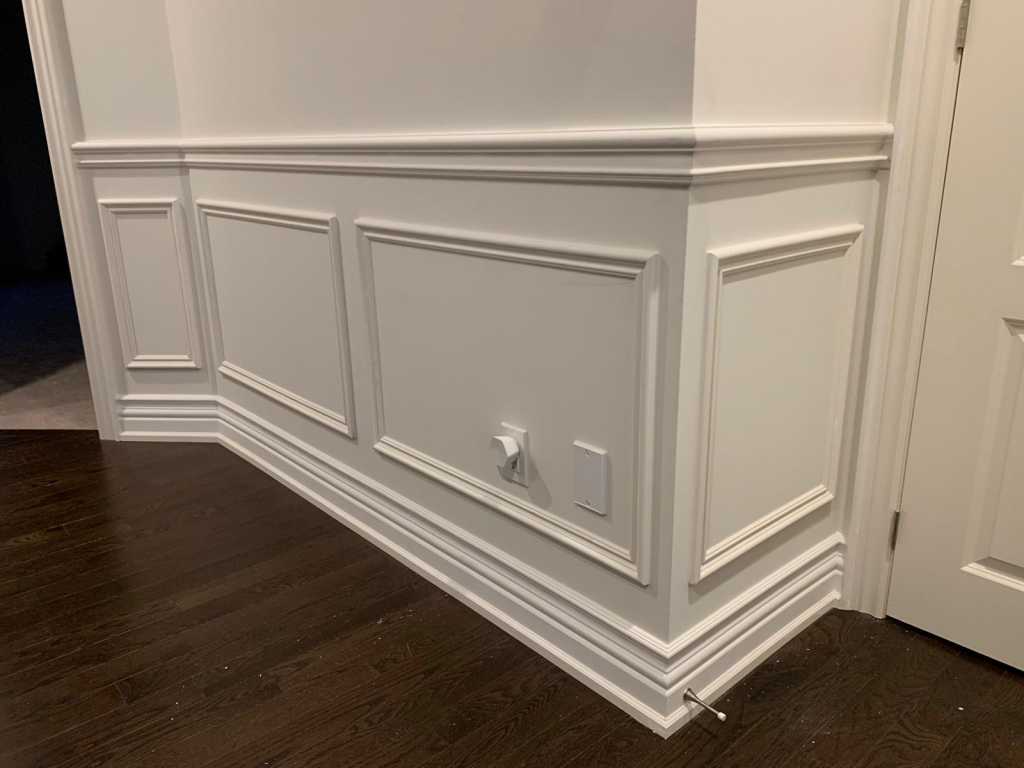
1. Chair Rail Molding: This is a great option for those on a budget, as it is one of the least expensive wainscoting details. Chair rail molding is designed to sit atop paneling and create simulated panels below the chair rail.
Shop 2in x 8ft Pine Primed Wainscot Panel Cap Wall Panel Moulding at
Cut to scribe line with inverted saber saw. 3. Drill a countersink pilot hole at stud location. 4. Drive screw through cap, Sheetrock, and into stud. 5. Lightly swab glue on sides of hole and tap in bung. 6. Trim plug flush with sharp chisel.
