
Épinglé sur Crochet dreamcatcher
To practice the sliding knot, you will need two pieces of cord. A base cord that the knot is being tied around (the black cord in the photo) and a piece of cord used to tie the knot (brown metallic cord in the photo). For the knotting cord, you will need at least four inches of 1mm cord or around six inches of 2 mm cord.
How To Tie A Bracelet Knot
How to tie elastic bracelets - most secure knot! Knot Queen 7.29K subscribers Subscribe Subscribed 9.6K Share 689K views 6 months ago Knot Queen videos Super simple elastic bracelet.

Square Sliding Knot Sliding knot tutorial, Diy bracelets tutorials
Free Shipping Available. Buy Tie The Knot Braclets on ebay. Money Back Guarantee!

tying the knot sterling silver bracelet by oh so cherished
Easy way to make the sliding knot! By Kamelia Deleva

How to make adjustable square knot bracelet with beads YouTube
Step 2: Step One. First! Okay, now that you have all the goods, you want to take your yard of string or cord and fold it right in half and cut it. Take one strand of your cut cord and fold it in half again, making a simple bend at the top ( Important: do not cut this half) Take the bend you just made and pass it through the center of the coin.

Simple Sliding Knot Sliding knot bracelet, Slip knot bracelets
Key to the knot: Make sure to melt the end of the strings to seal the knot. DIY ♥ Adjustable Macrame Arm Party Bracelets! ♥ Watch on Tie-on Bracelets (non-adjustable) String type: Cotton String (NOT sold in our Maker Shop) Key to the knot: Non-coated string! Cotton string will be able to hold a double knot from the friction of the strings.
Bracelet Knots tutorial BraceletBook
Fold the threads in half. Grab the ends of the folded threads. To create a loop, tie a knot about 1 inch (2.5 cm) in the folded threads. Continue making your friendship bracelet. 2. Make two braids from the frayed end. Once you have finished your bracelet, tie a knot with all the frayed strings from one end.

Diamond knot Wikipedia Lanyard knot, Paracord knots, Diamond knot
Trim off the excess cord and put a drop of glue over the knot. You can then slide the knot under the bead. If you cannot pass the knot from under a bead, then you can tuck the tail ends inside the beads. Simply pour a drop of glue over it to seal it. Wait for the glue to dry before trying the bracelet.
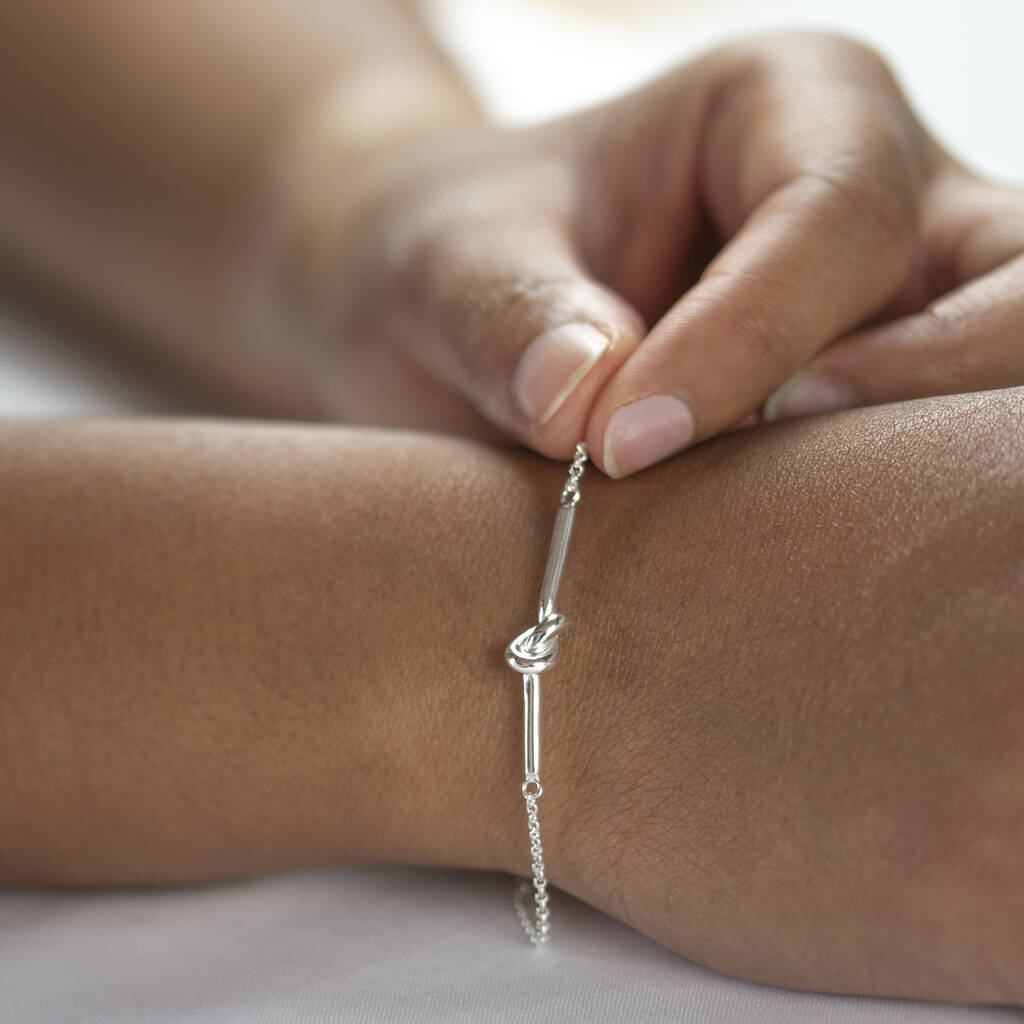
Tying The Knot Sterling Silver Bracelet By Oh So Cherished
Tie a bracelet knot by crossing the two ends of the bracelet. Then make a loop with the right end of the bracelet and run the left end through that loop. Pull the right end back through the loop and pull it tight. Repeat the process with the left end. Then trim both sides and burn the trimmed ends.

Pin en Bracelet Tutorials and Ideas
1. Overhand Knot The Overhand knot is probably the most common, and simplest, knot known to man. If you know how to tie your shoes, then you're probably already familiar with this one. It's synonymous with the word "knot" as this is usually what comes to mind when you hear the word.

Bracelet Knot Tying Sliding Knots Instructables
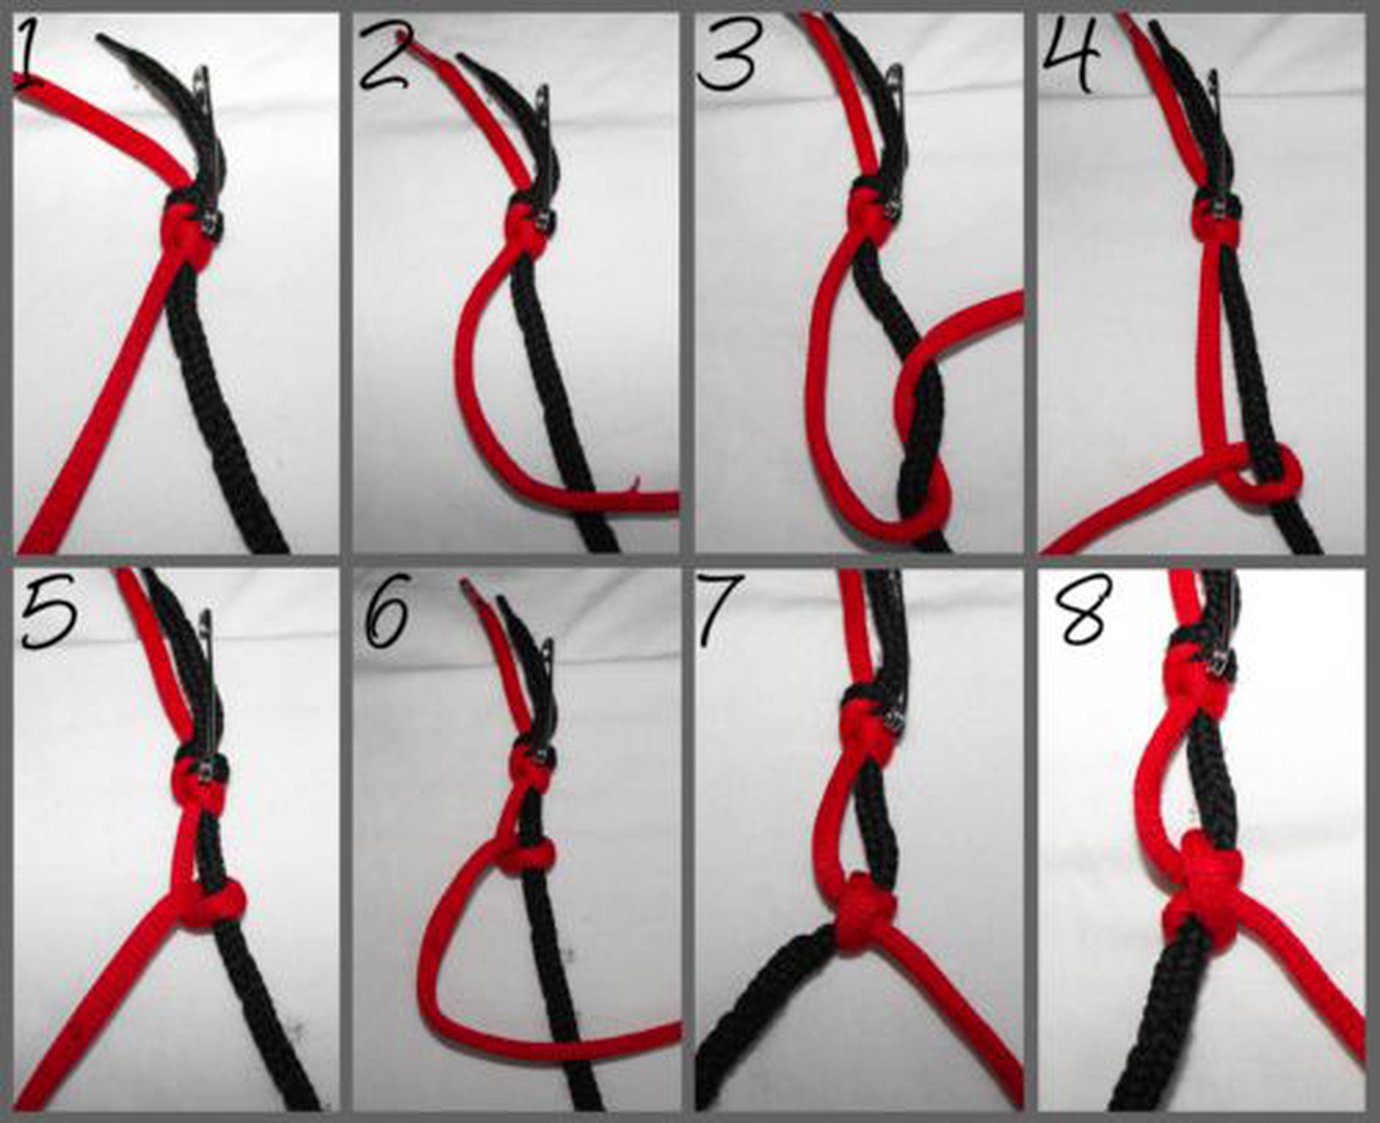
The forward kno t is made by tying a forward hitch followed by a second forward hitch. In other words, you will tie two hitches in a row using the left-hand string on top of the right-hand string. After making a forward knot, the strings should have switched place. The color of the knot will be the same color as the string that began on the left.

Beading tutorials, Bracelet knots, Knots
7 Ways to Tie Knots for Jewelry 1. Overhand Knot The most common knot used for securing beads in jewelry making is the overhand knot. This knot is simple and generally used throughout our daily lives. The easiest part about the overhand knot? It's very similar to tying your shoes. You can also tie a double overhand knot to form a loop.

Kashmiri Stretch Bracelet Stretch bracelets, Making jewelry for
Cut 4 strands of embroidery floss about 36″ long. Tie together with a simple overhand knot and secure to a flat surface with tape. Or, clip the end of the bracelet to a clipboard. Take the left-hand string (A) and make a forward knot onto the first strand, the second strand, and then the last strand of floss.

Tying The Sliding Knot Fish Hook Bracelets Chasing Fin Apparel
How to tie an elastic bracelet - stretchy bracelet how to - how to make a stretchy bracelet Let It Bead 2.63K subscribers Subscribe Subscribed 10K 644K views 1 year ago LET IT BEAD No fail!.
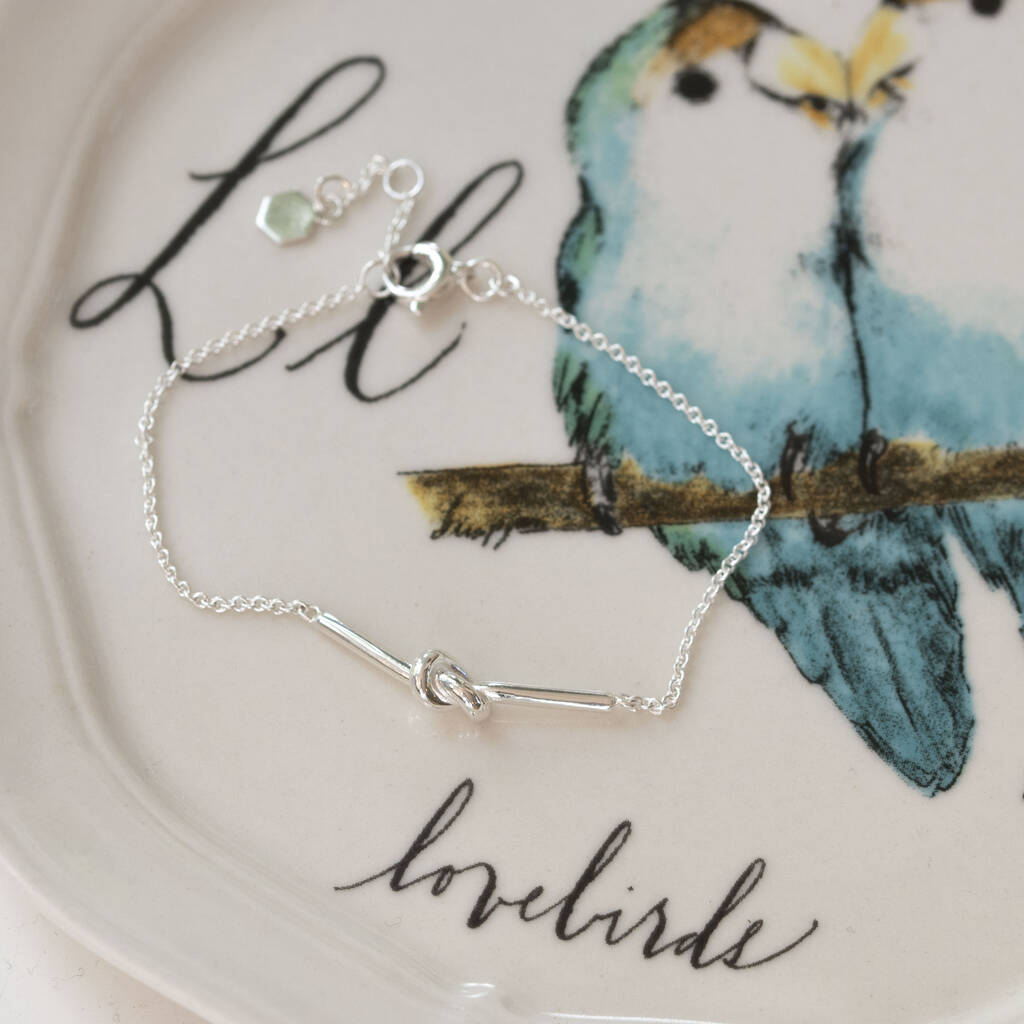
Tying The Knot Sterling Silver Bracelet* By Oh So Cherished
1 Bend one end of the rope back about 4 inches (100 mm) to create a half-loop. This should give you enough space to easily create your knot without running out of room. When you bend back the end of the rope, you'll create 2 parallel lines. [1] This type of knot is great for making bracelets, necklaces, or other types of crafting projects.
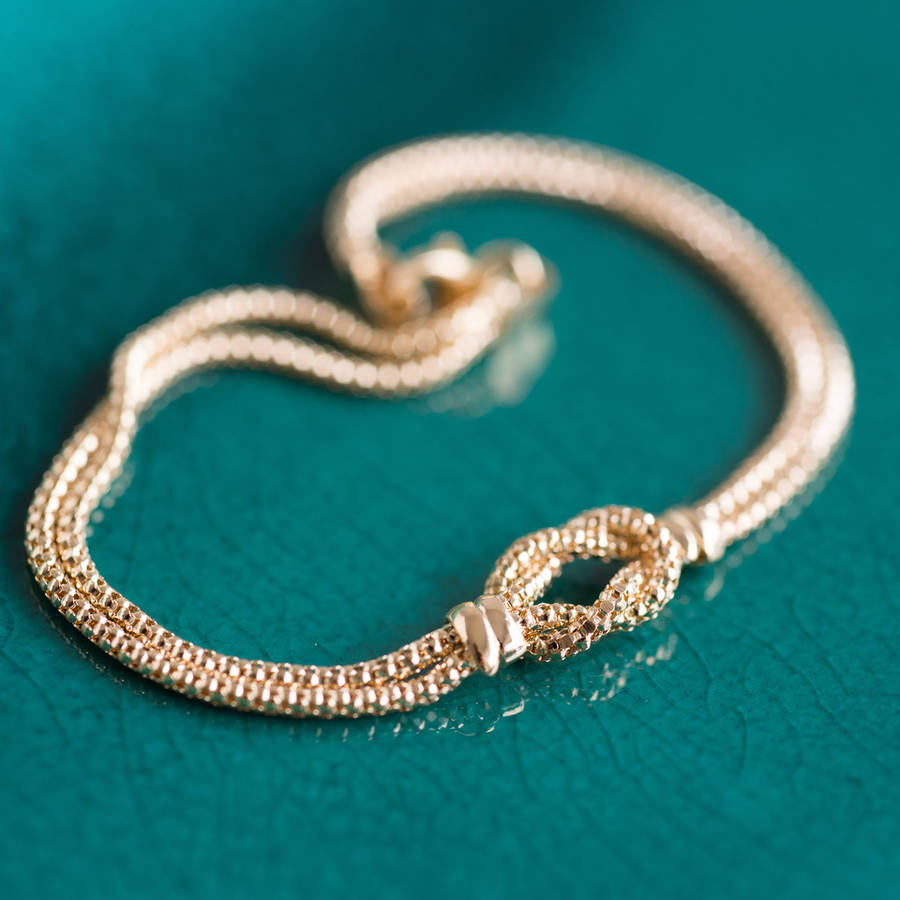
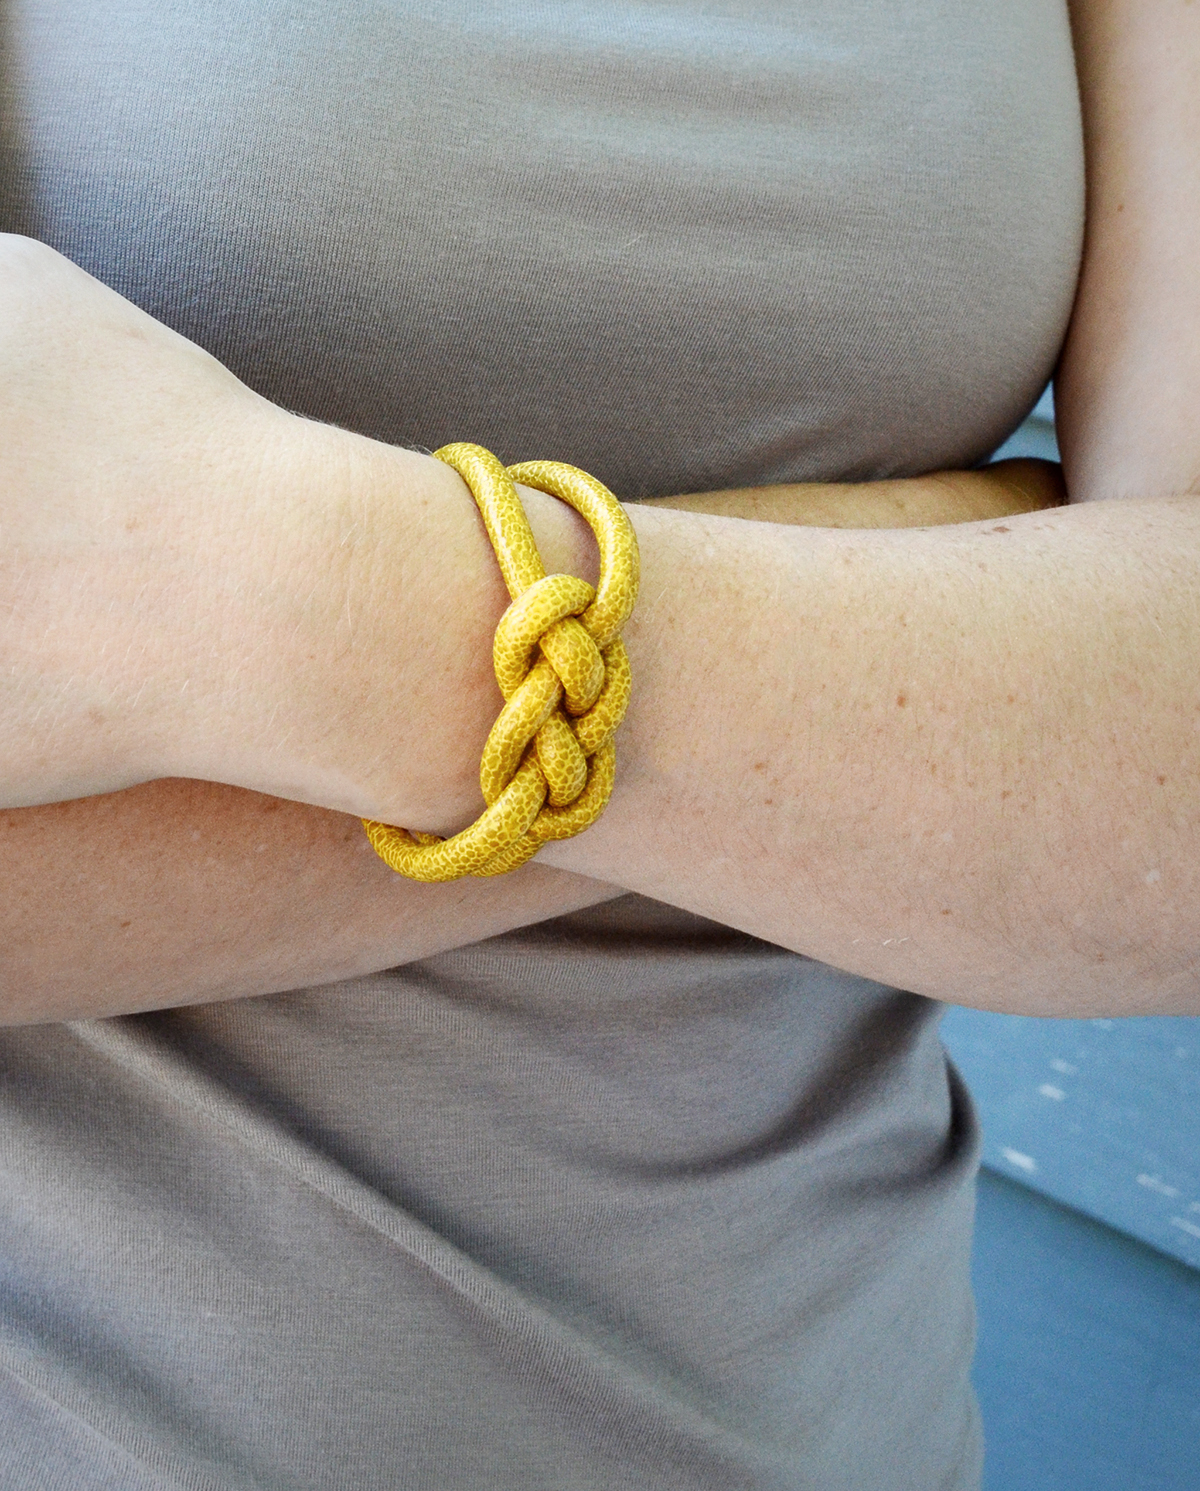
Gold Tying The Knot Bracelet* By Oh So Cherished
The overhand knot is also a popular choice for tying between beads for a decorative effect or to keep them from rubbing against each other. It is often doubled to create a loop. To tie an overhand knot: Form a loop by laying one end of the rope over the rest of it to form a loop. Where the string touches is where the knot will be.
